Custom cufflinks - with a unique-to-Zaphir modular design

Sometimes when you are in a making-things-zone you completely forget to take photos of the process and document the steps behind making your piece.
I am trying to get better at remembering to do this as customers love seeing the method and work that goes into a custom piece, and love seeing the progress from lump/flat bit of metal to (hopefully!) a gleaming new piece of jewellery.
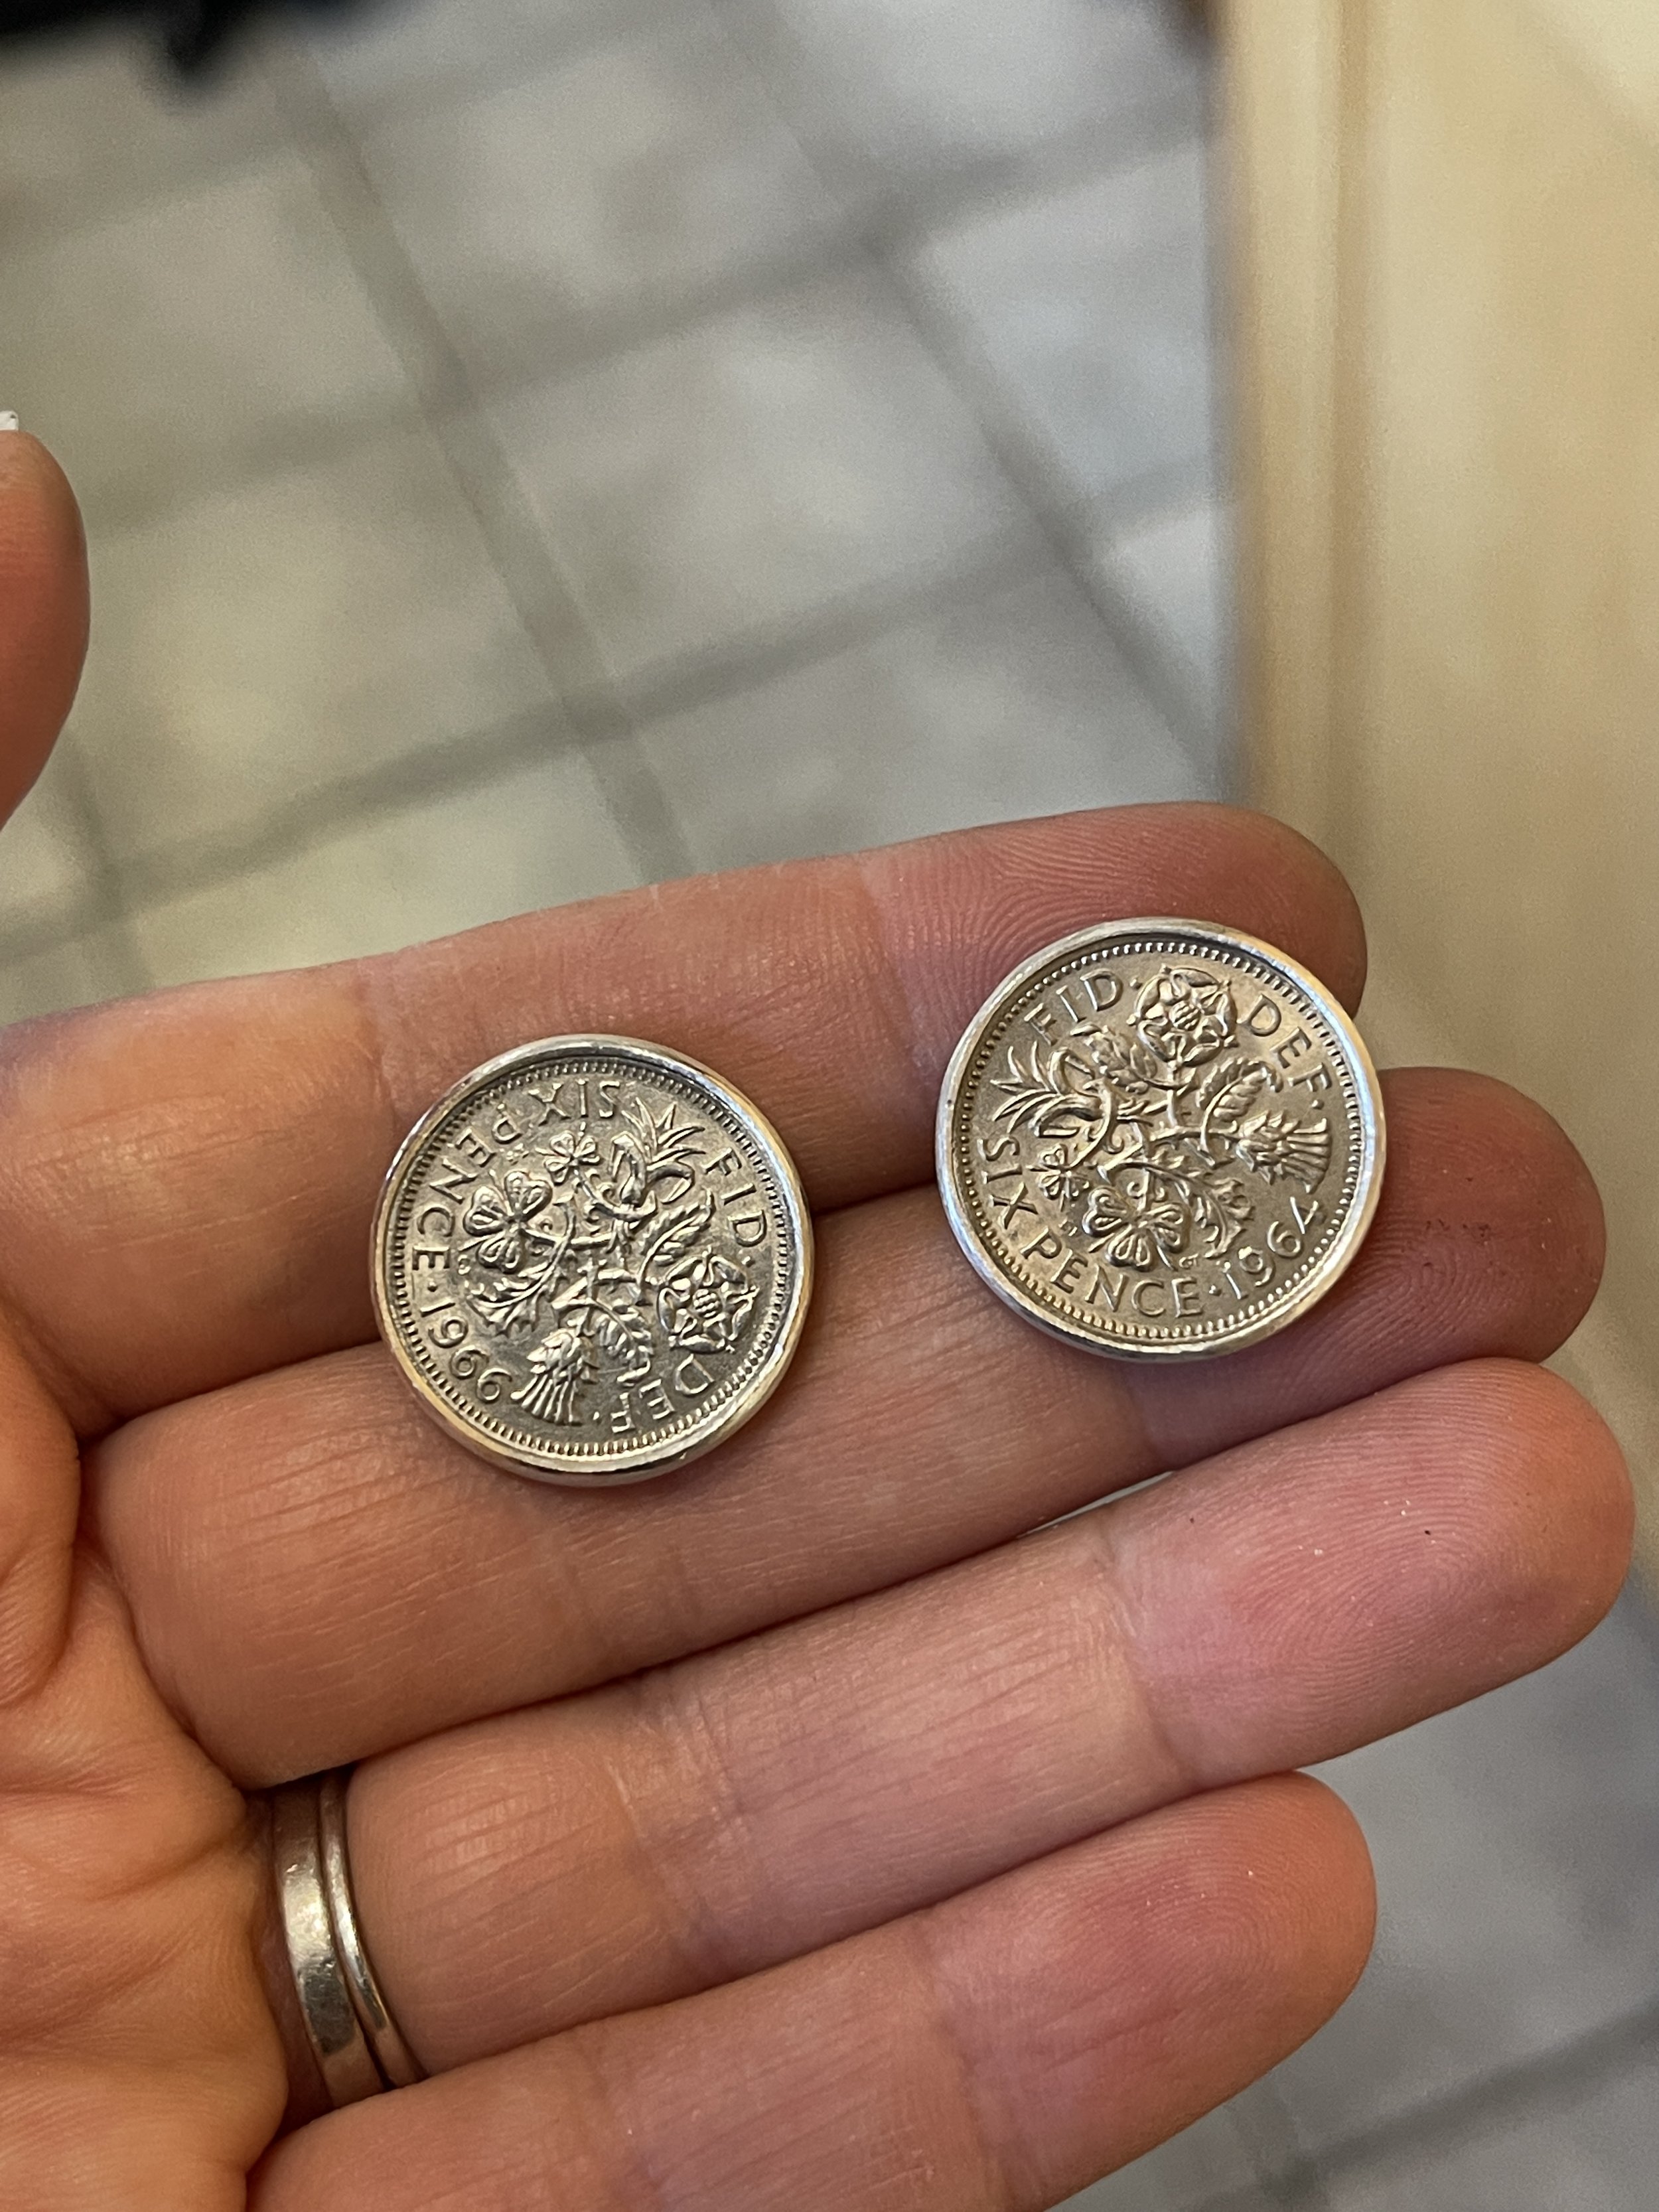
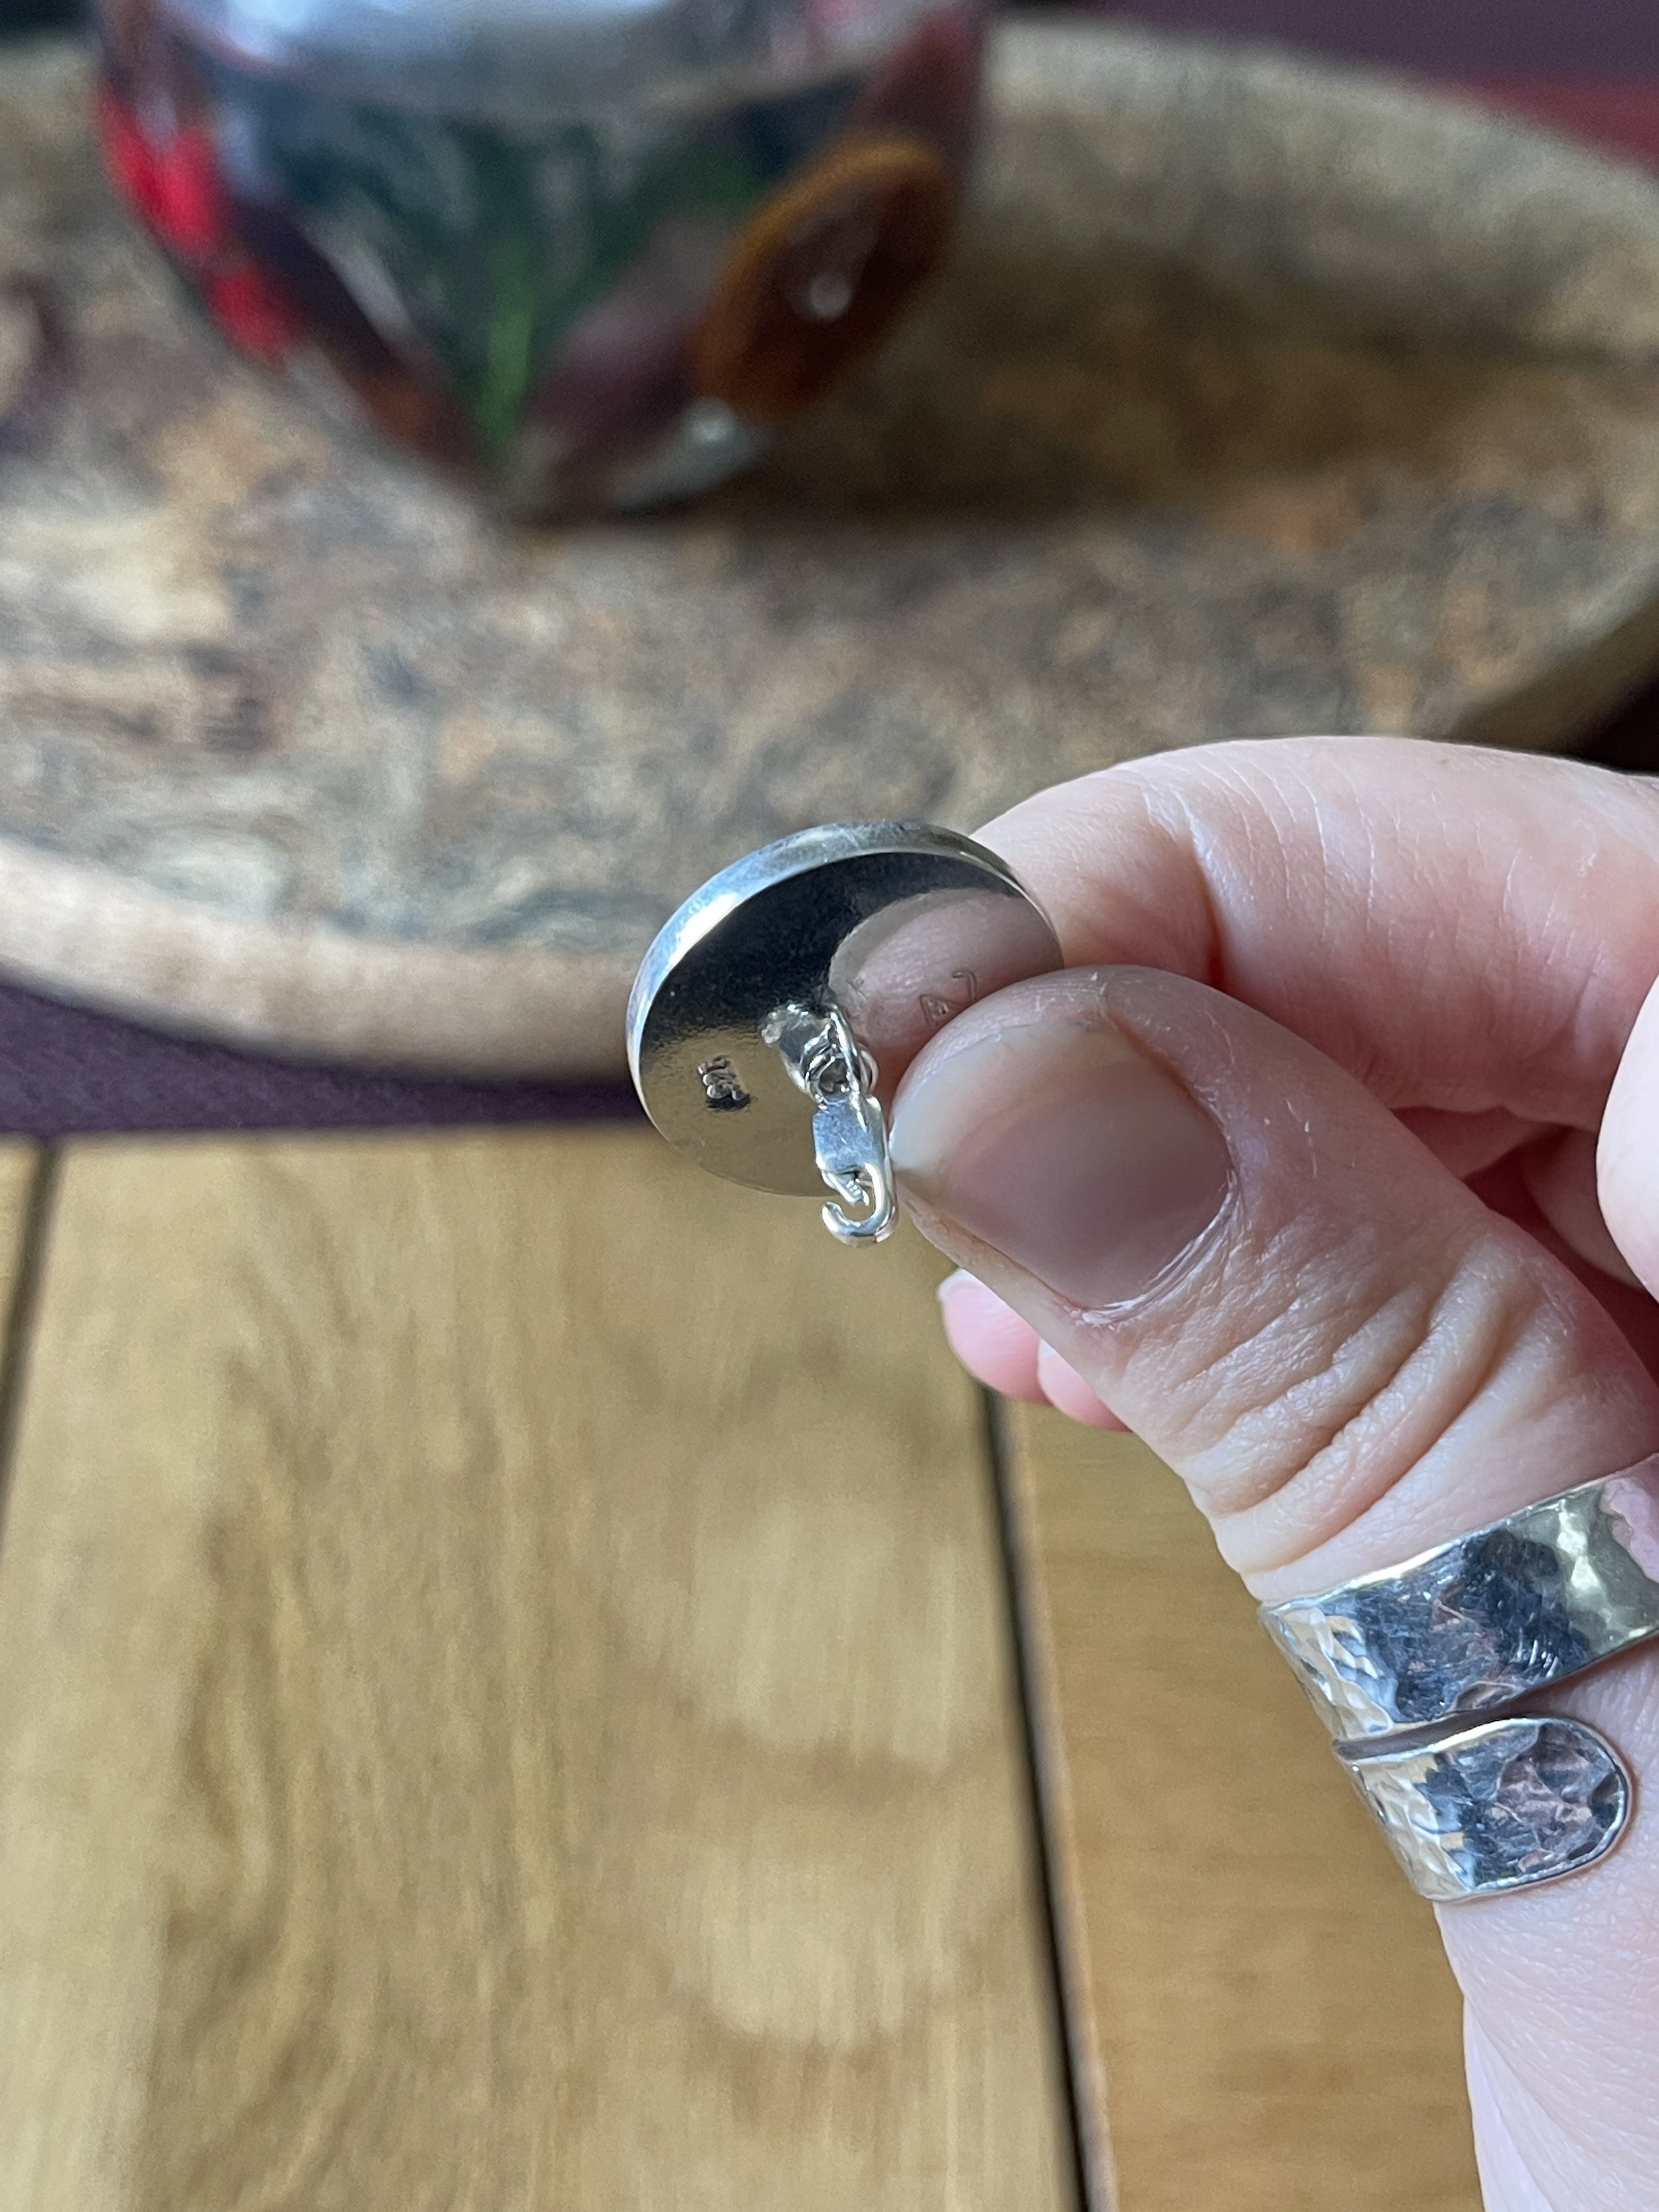
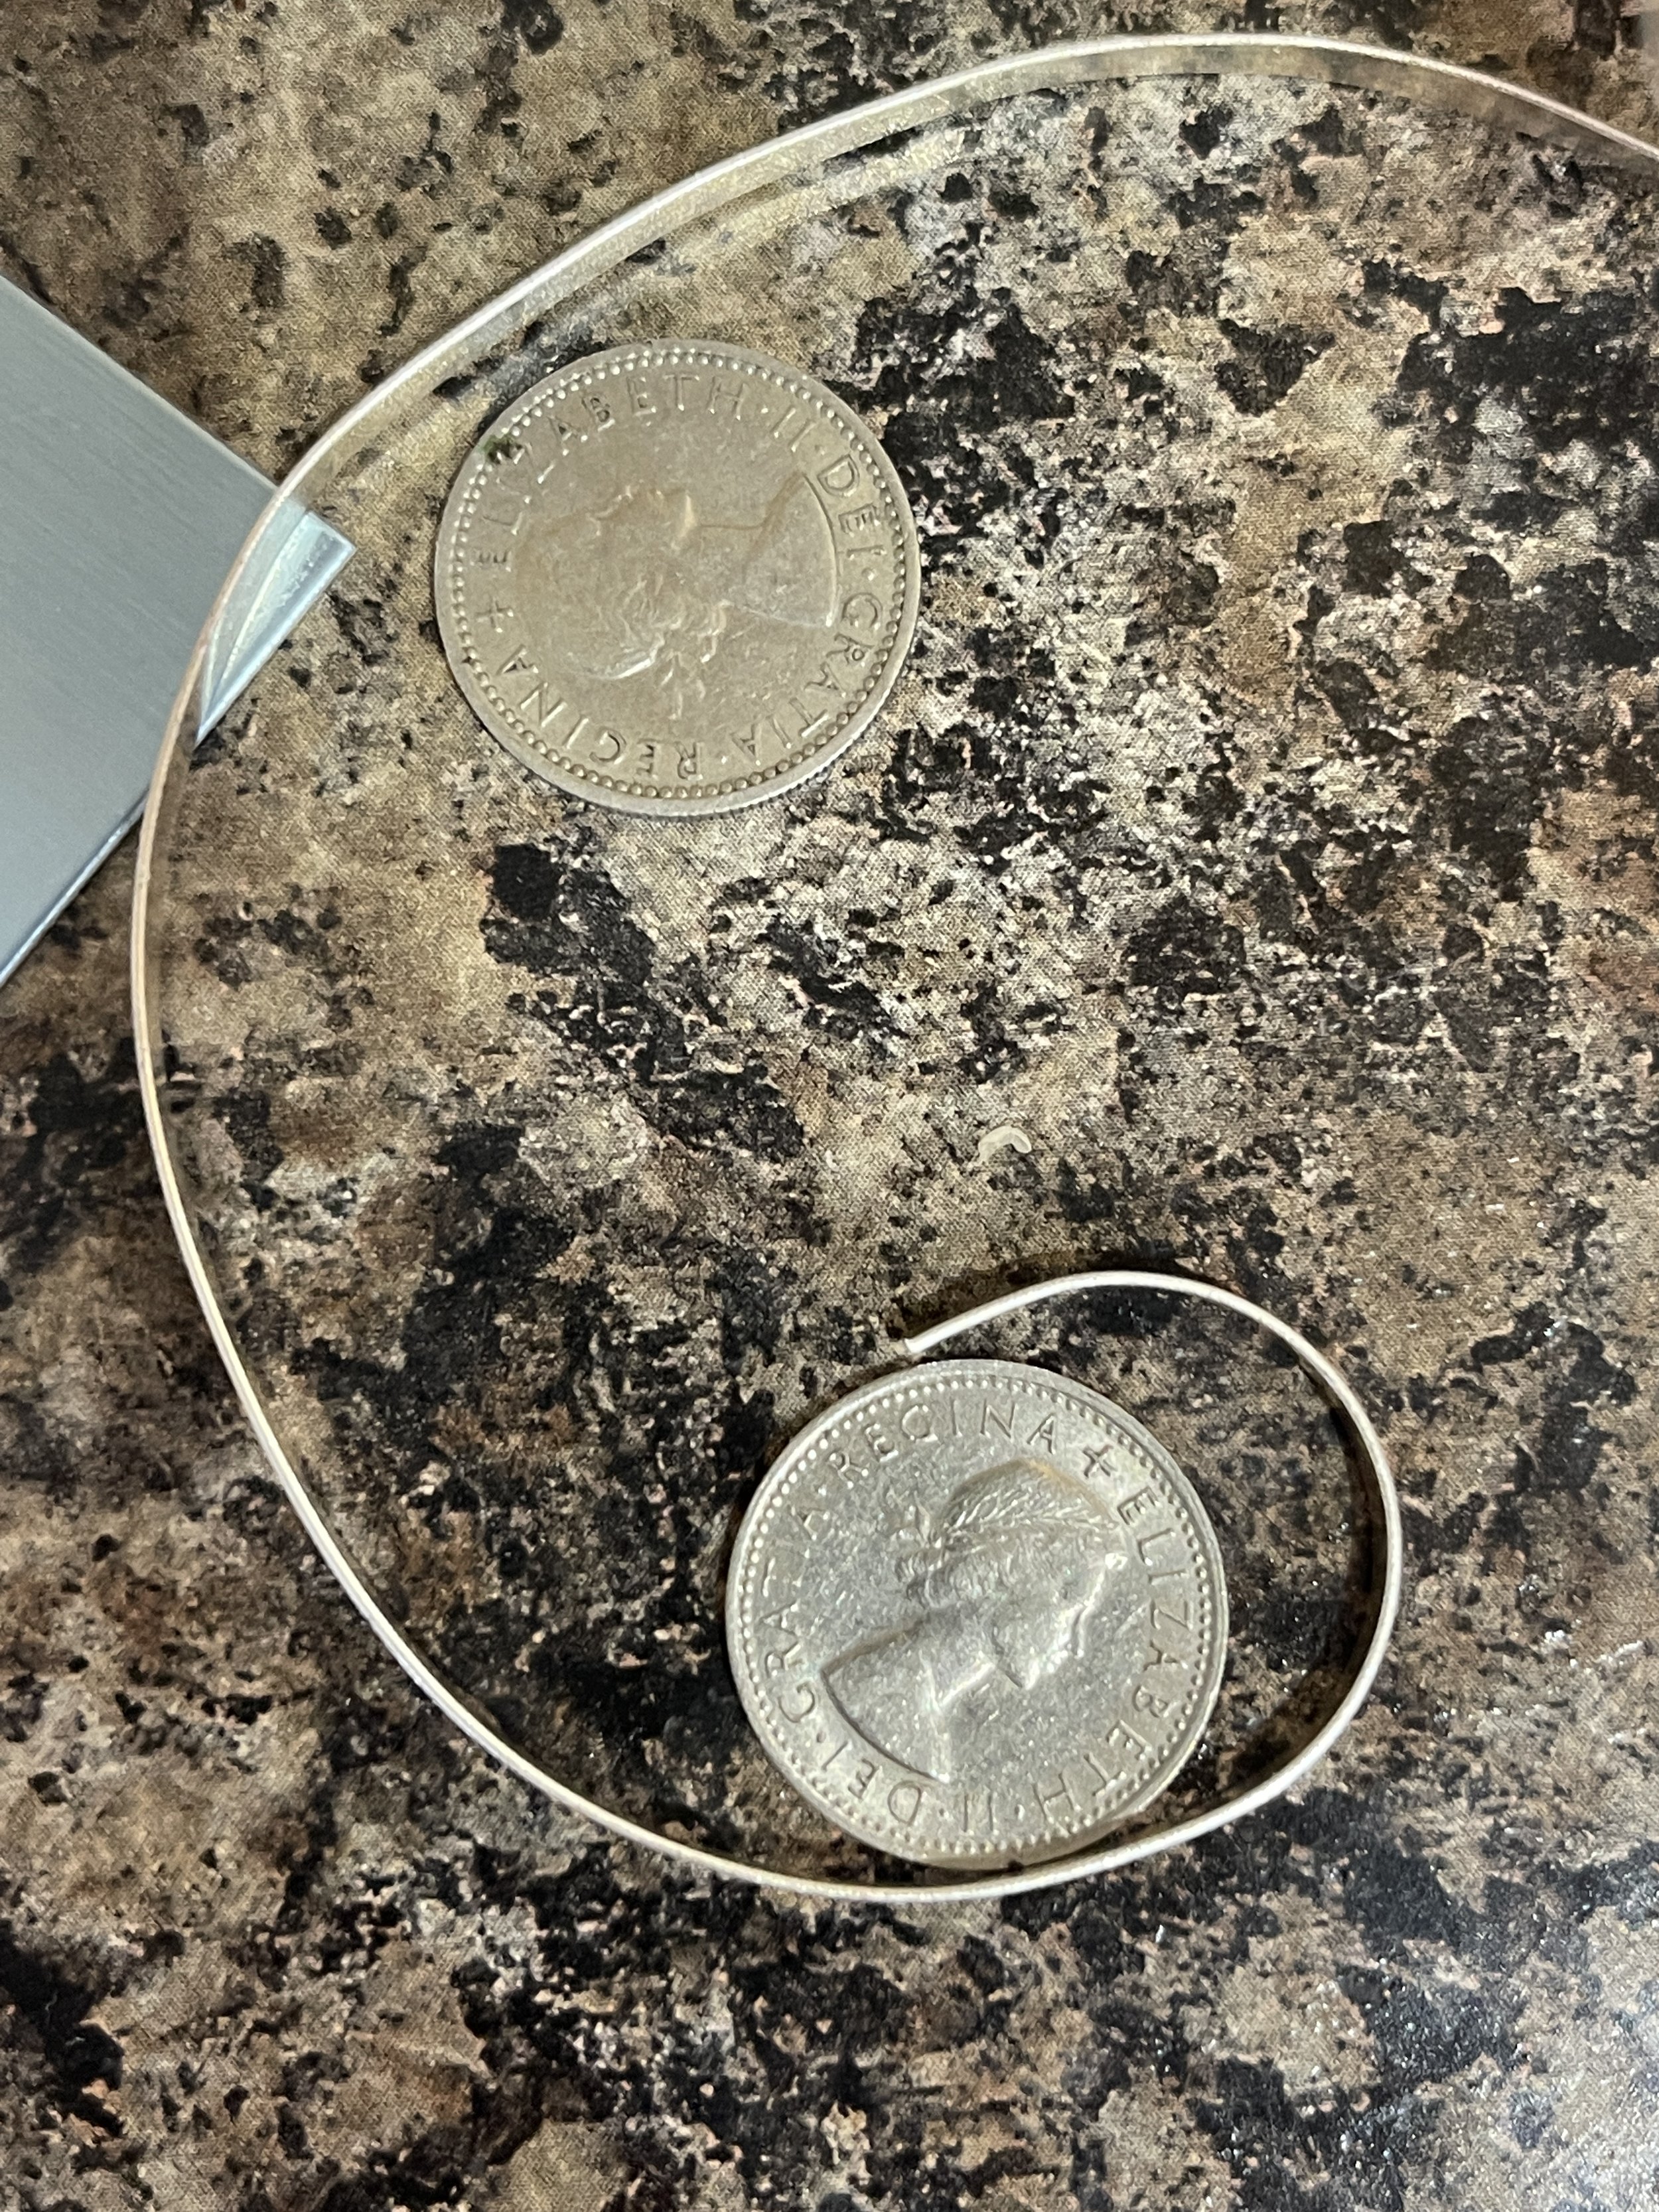
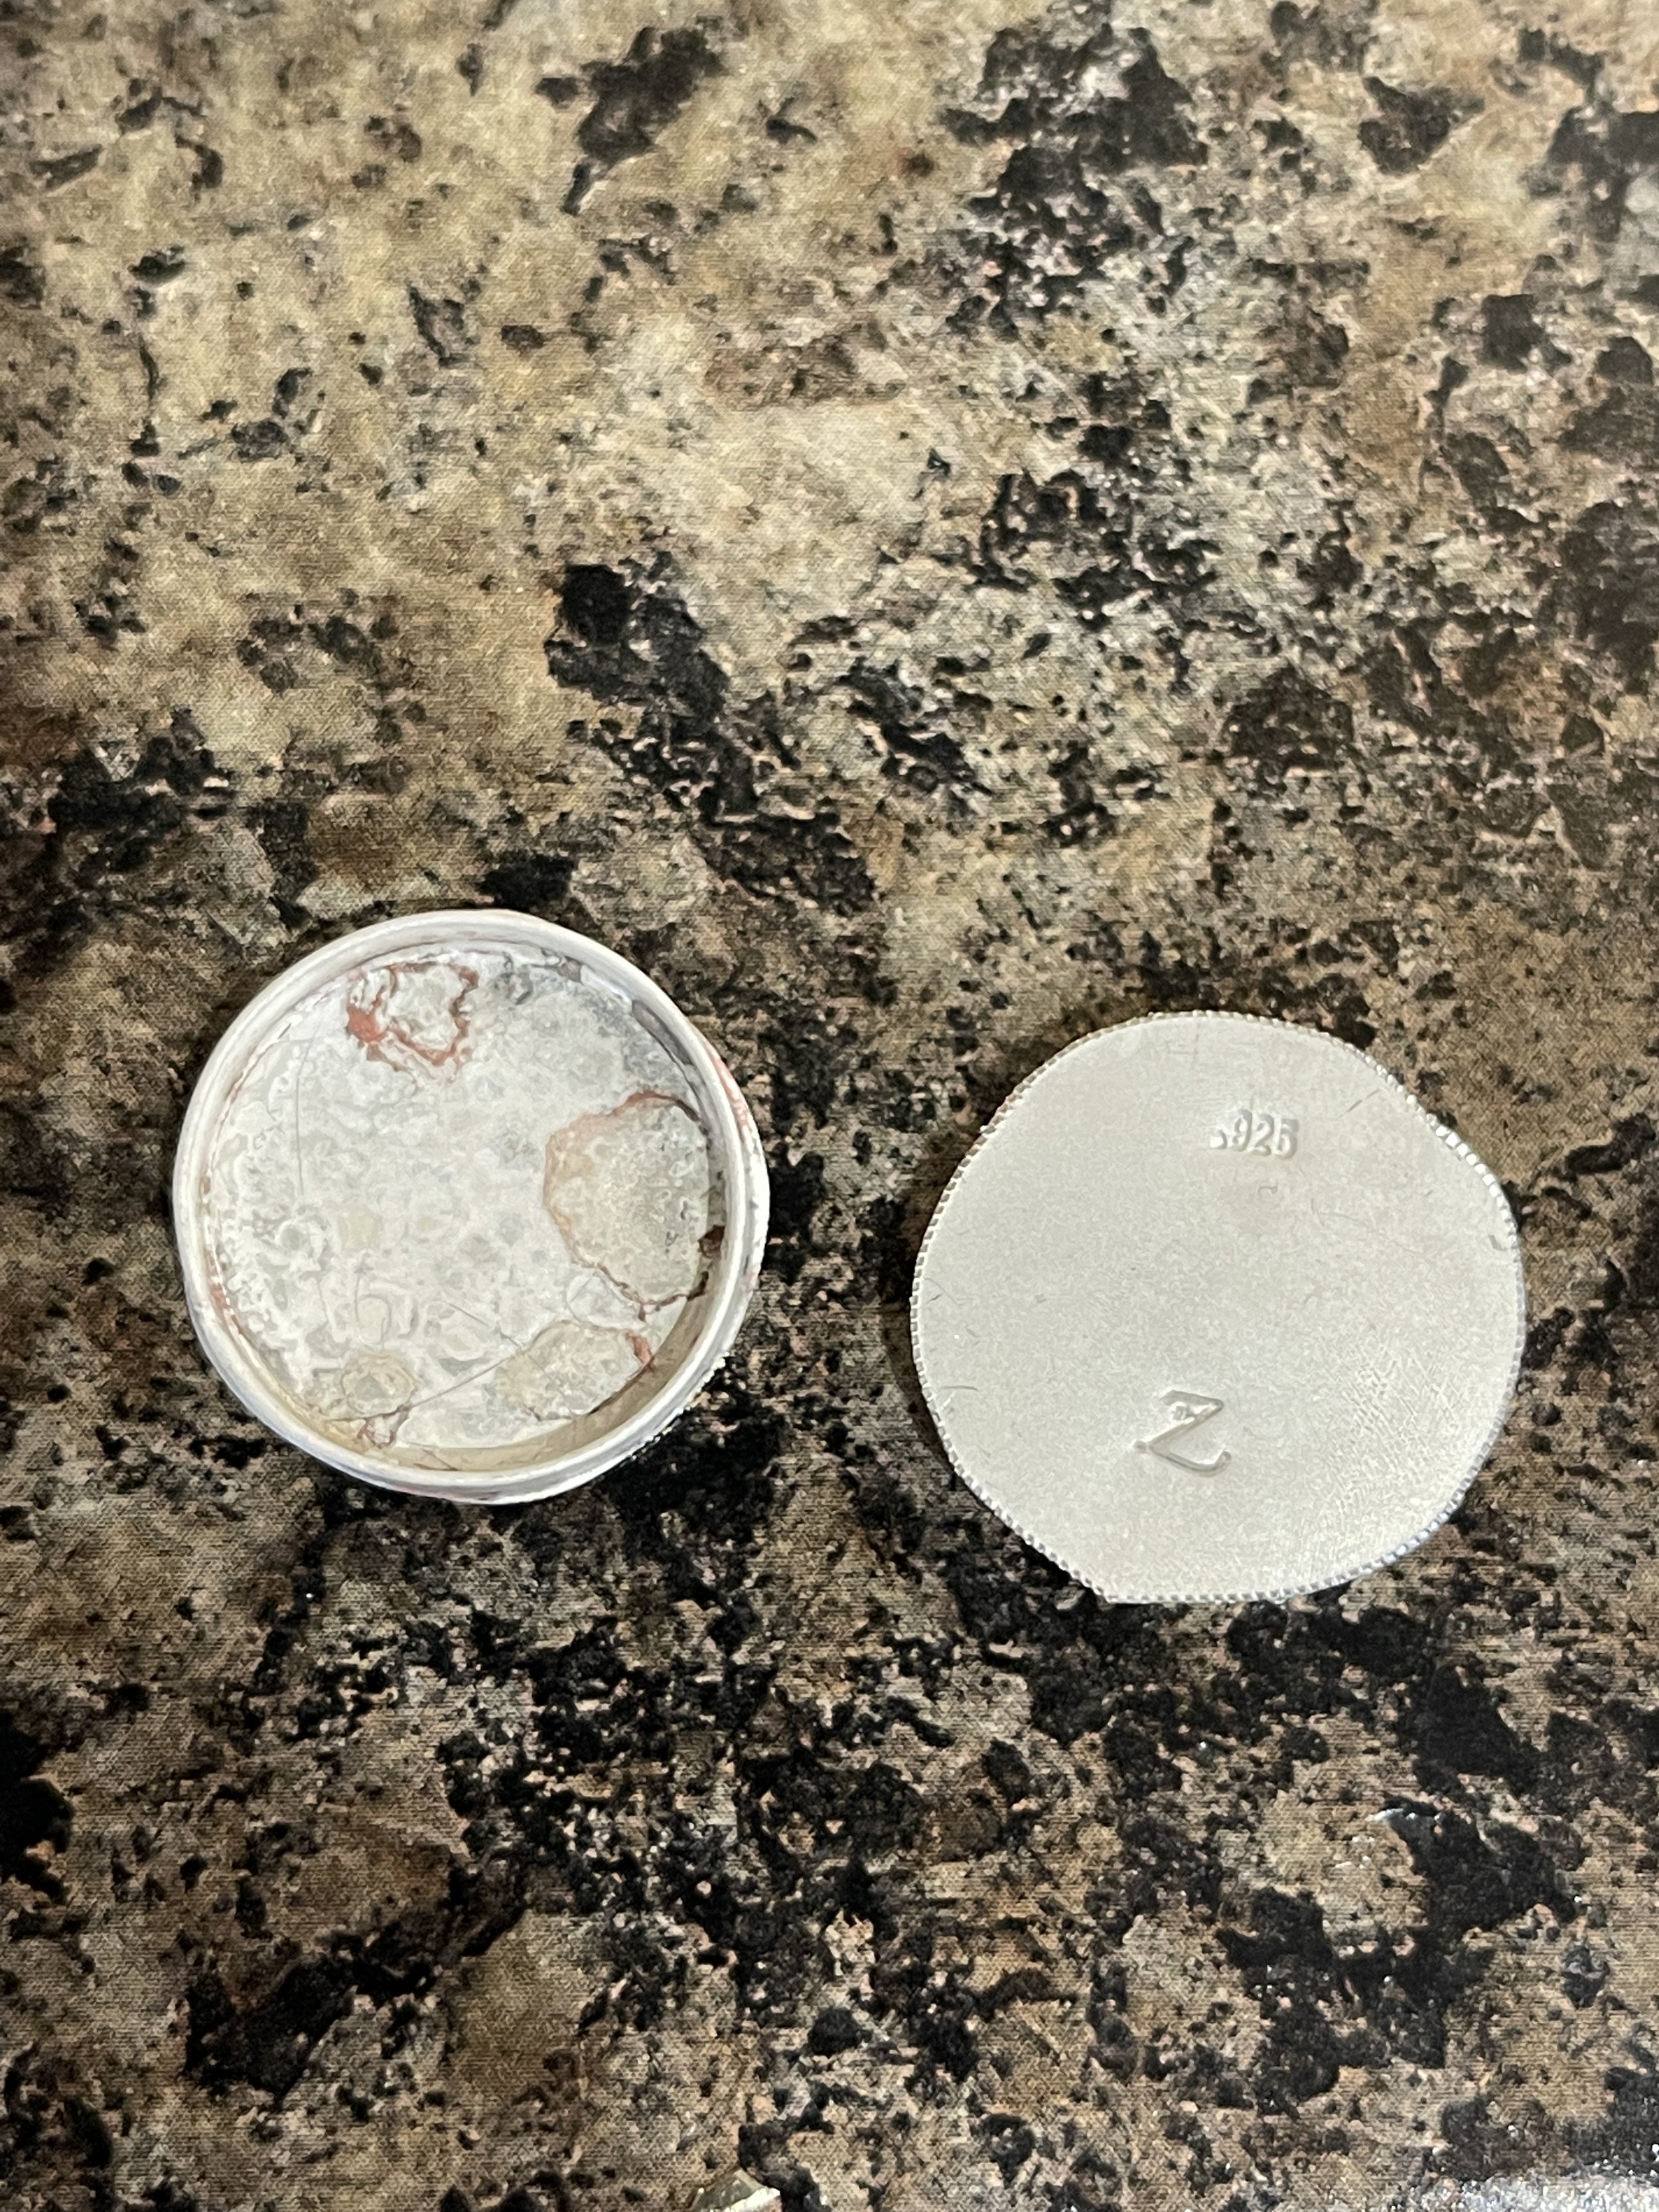
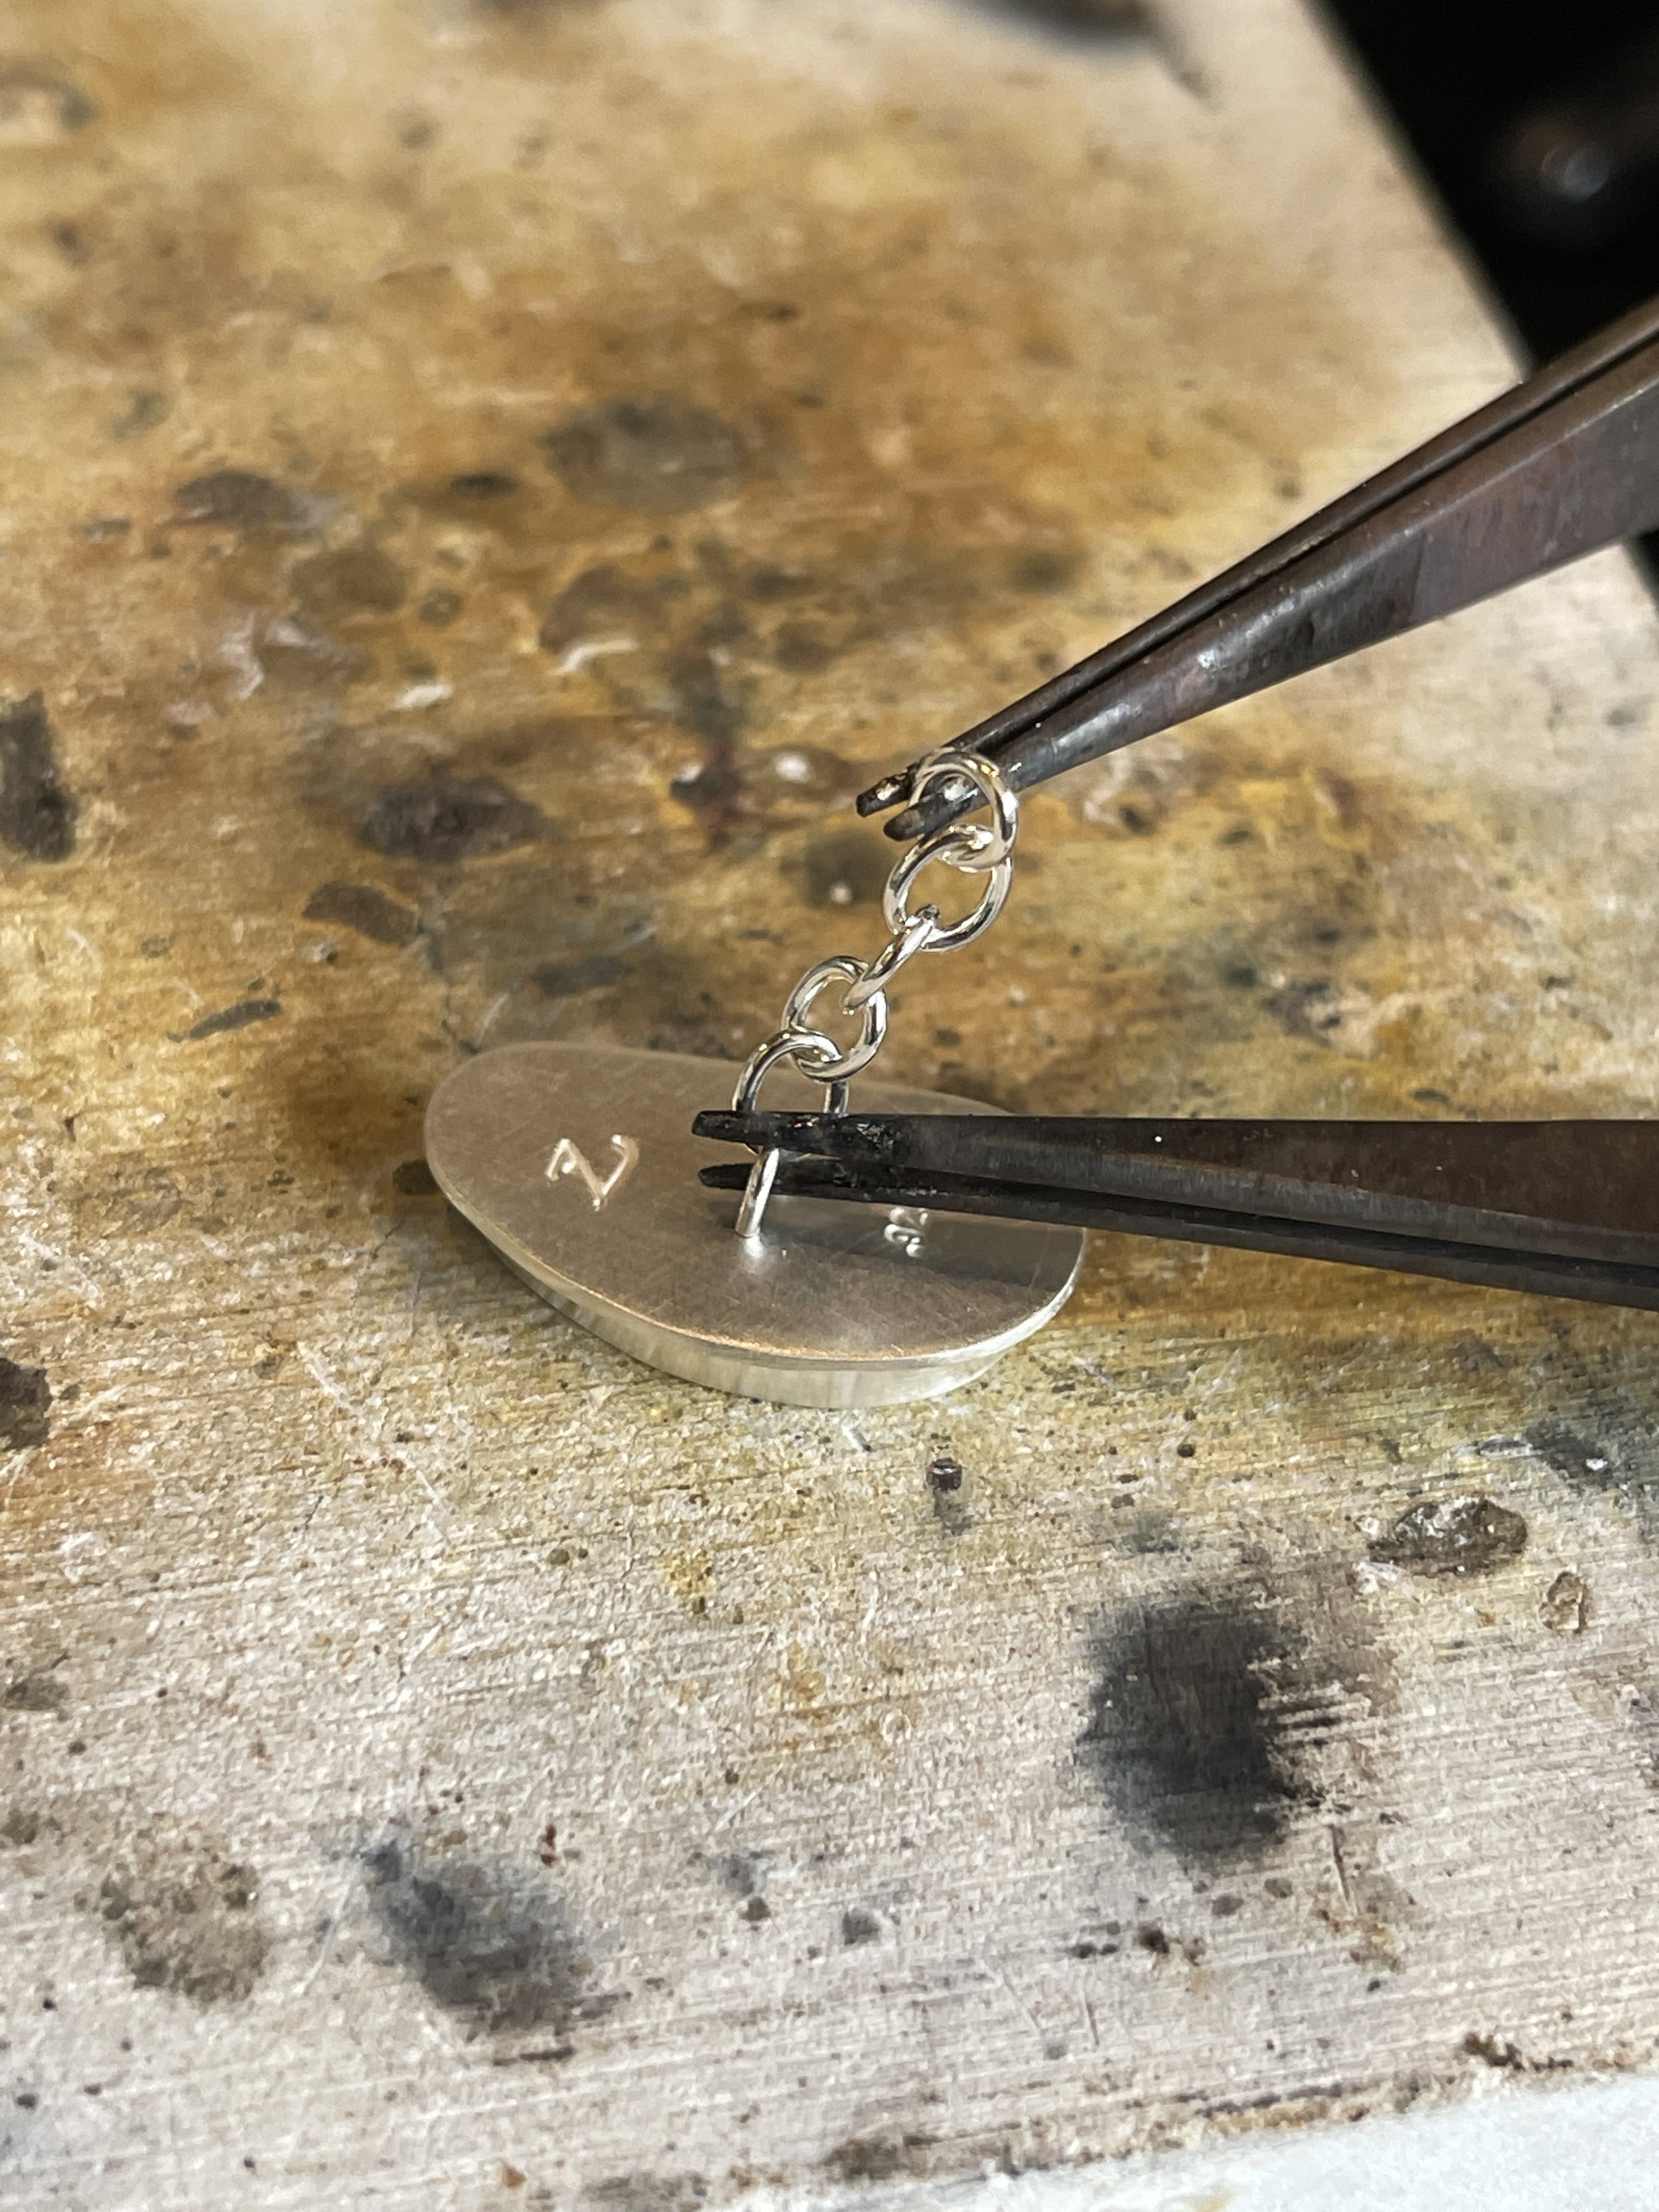
This latest commission was for a 1st year wedding anniversary gift, and features 2 decorative sixpences close to the customer’s family. We discussed the options of how to incorporate them, and decided to match the setting style of the bride’s bracelet - which also featured one of these beautiful coins. This is a plain bezel setting in sterling silver; simple and perfect to showcase the coins with no distracting decorative element. However a bit of flash was also required… so I designed a secret feature into the cufflink design - modular backs that are detachable! This was achieved by using a clasp so the client could wear the precious sixpences with different backs according to their outfit!
“So I designed a secret feature into the cufflink design - modular backs that are detachable!”
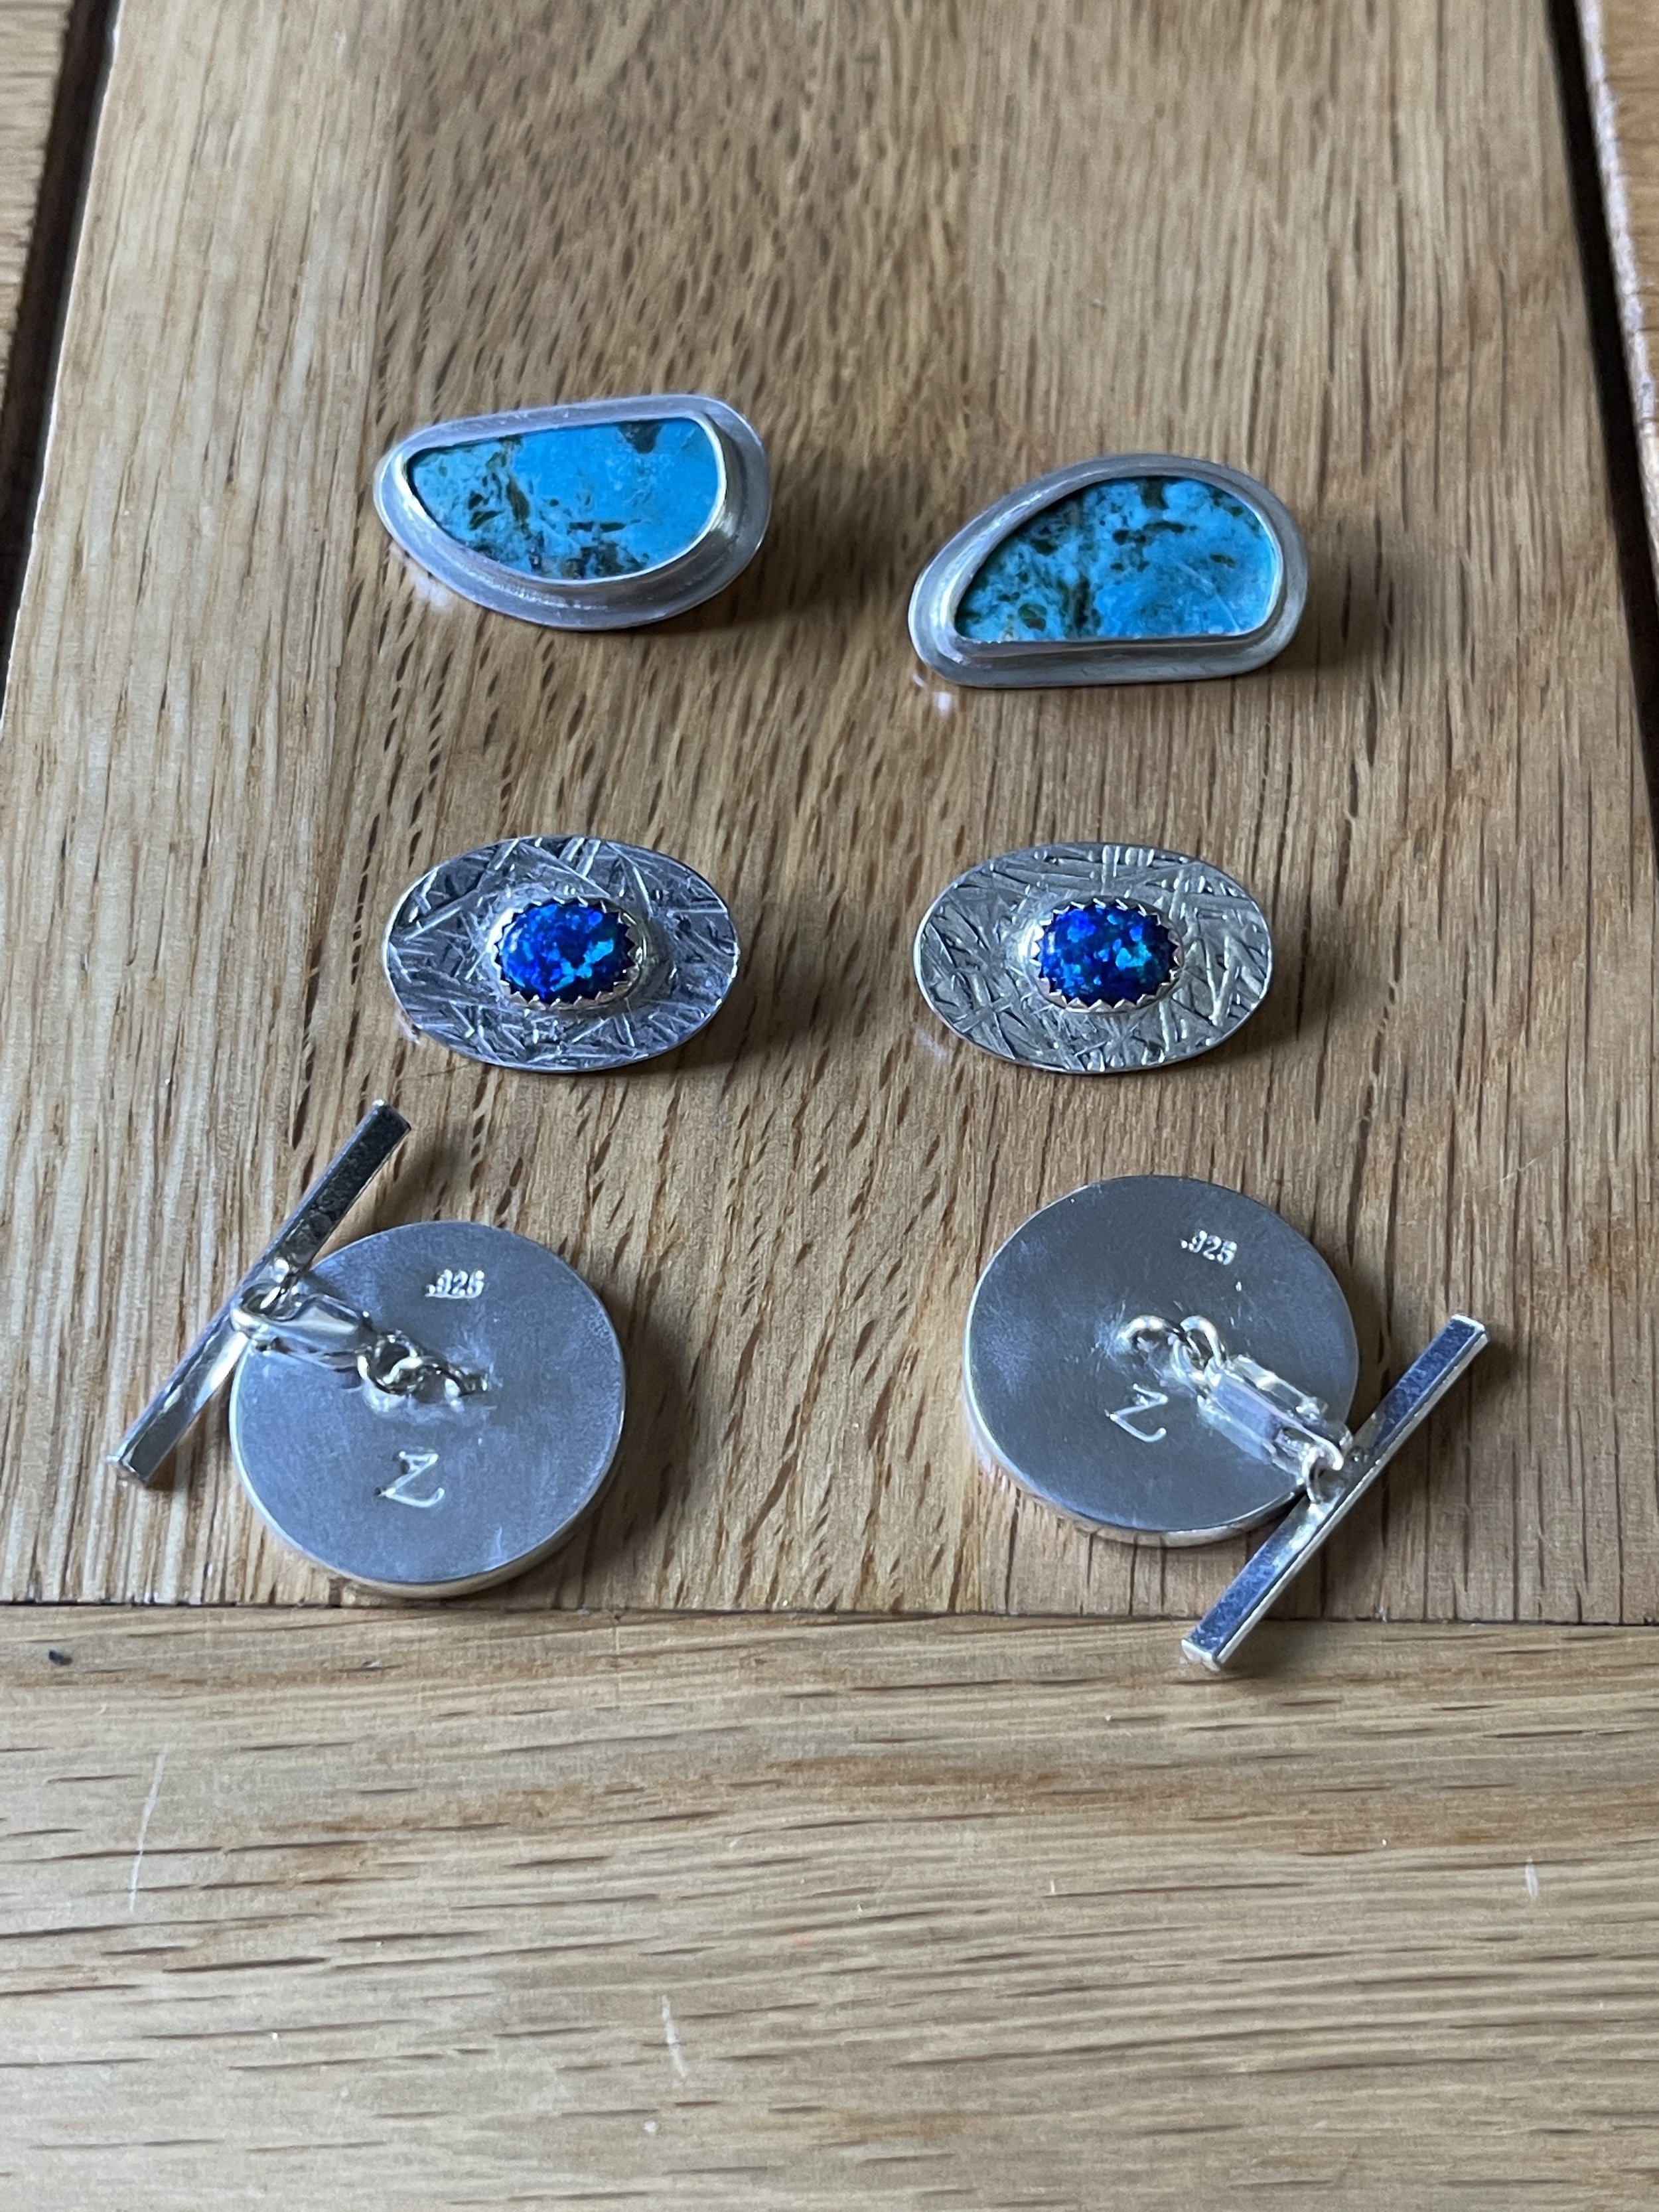
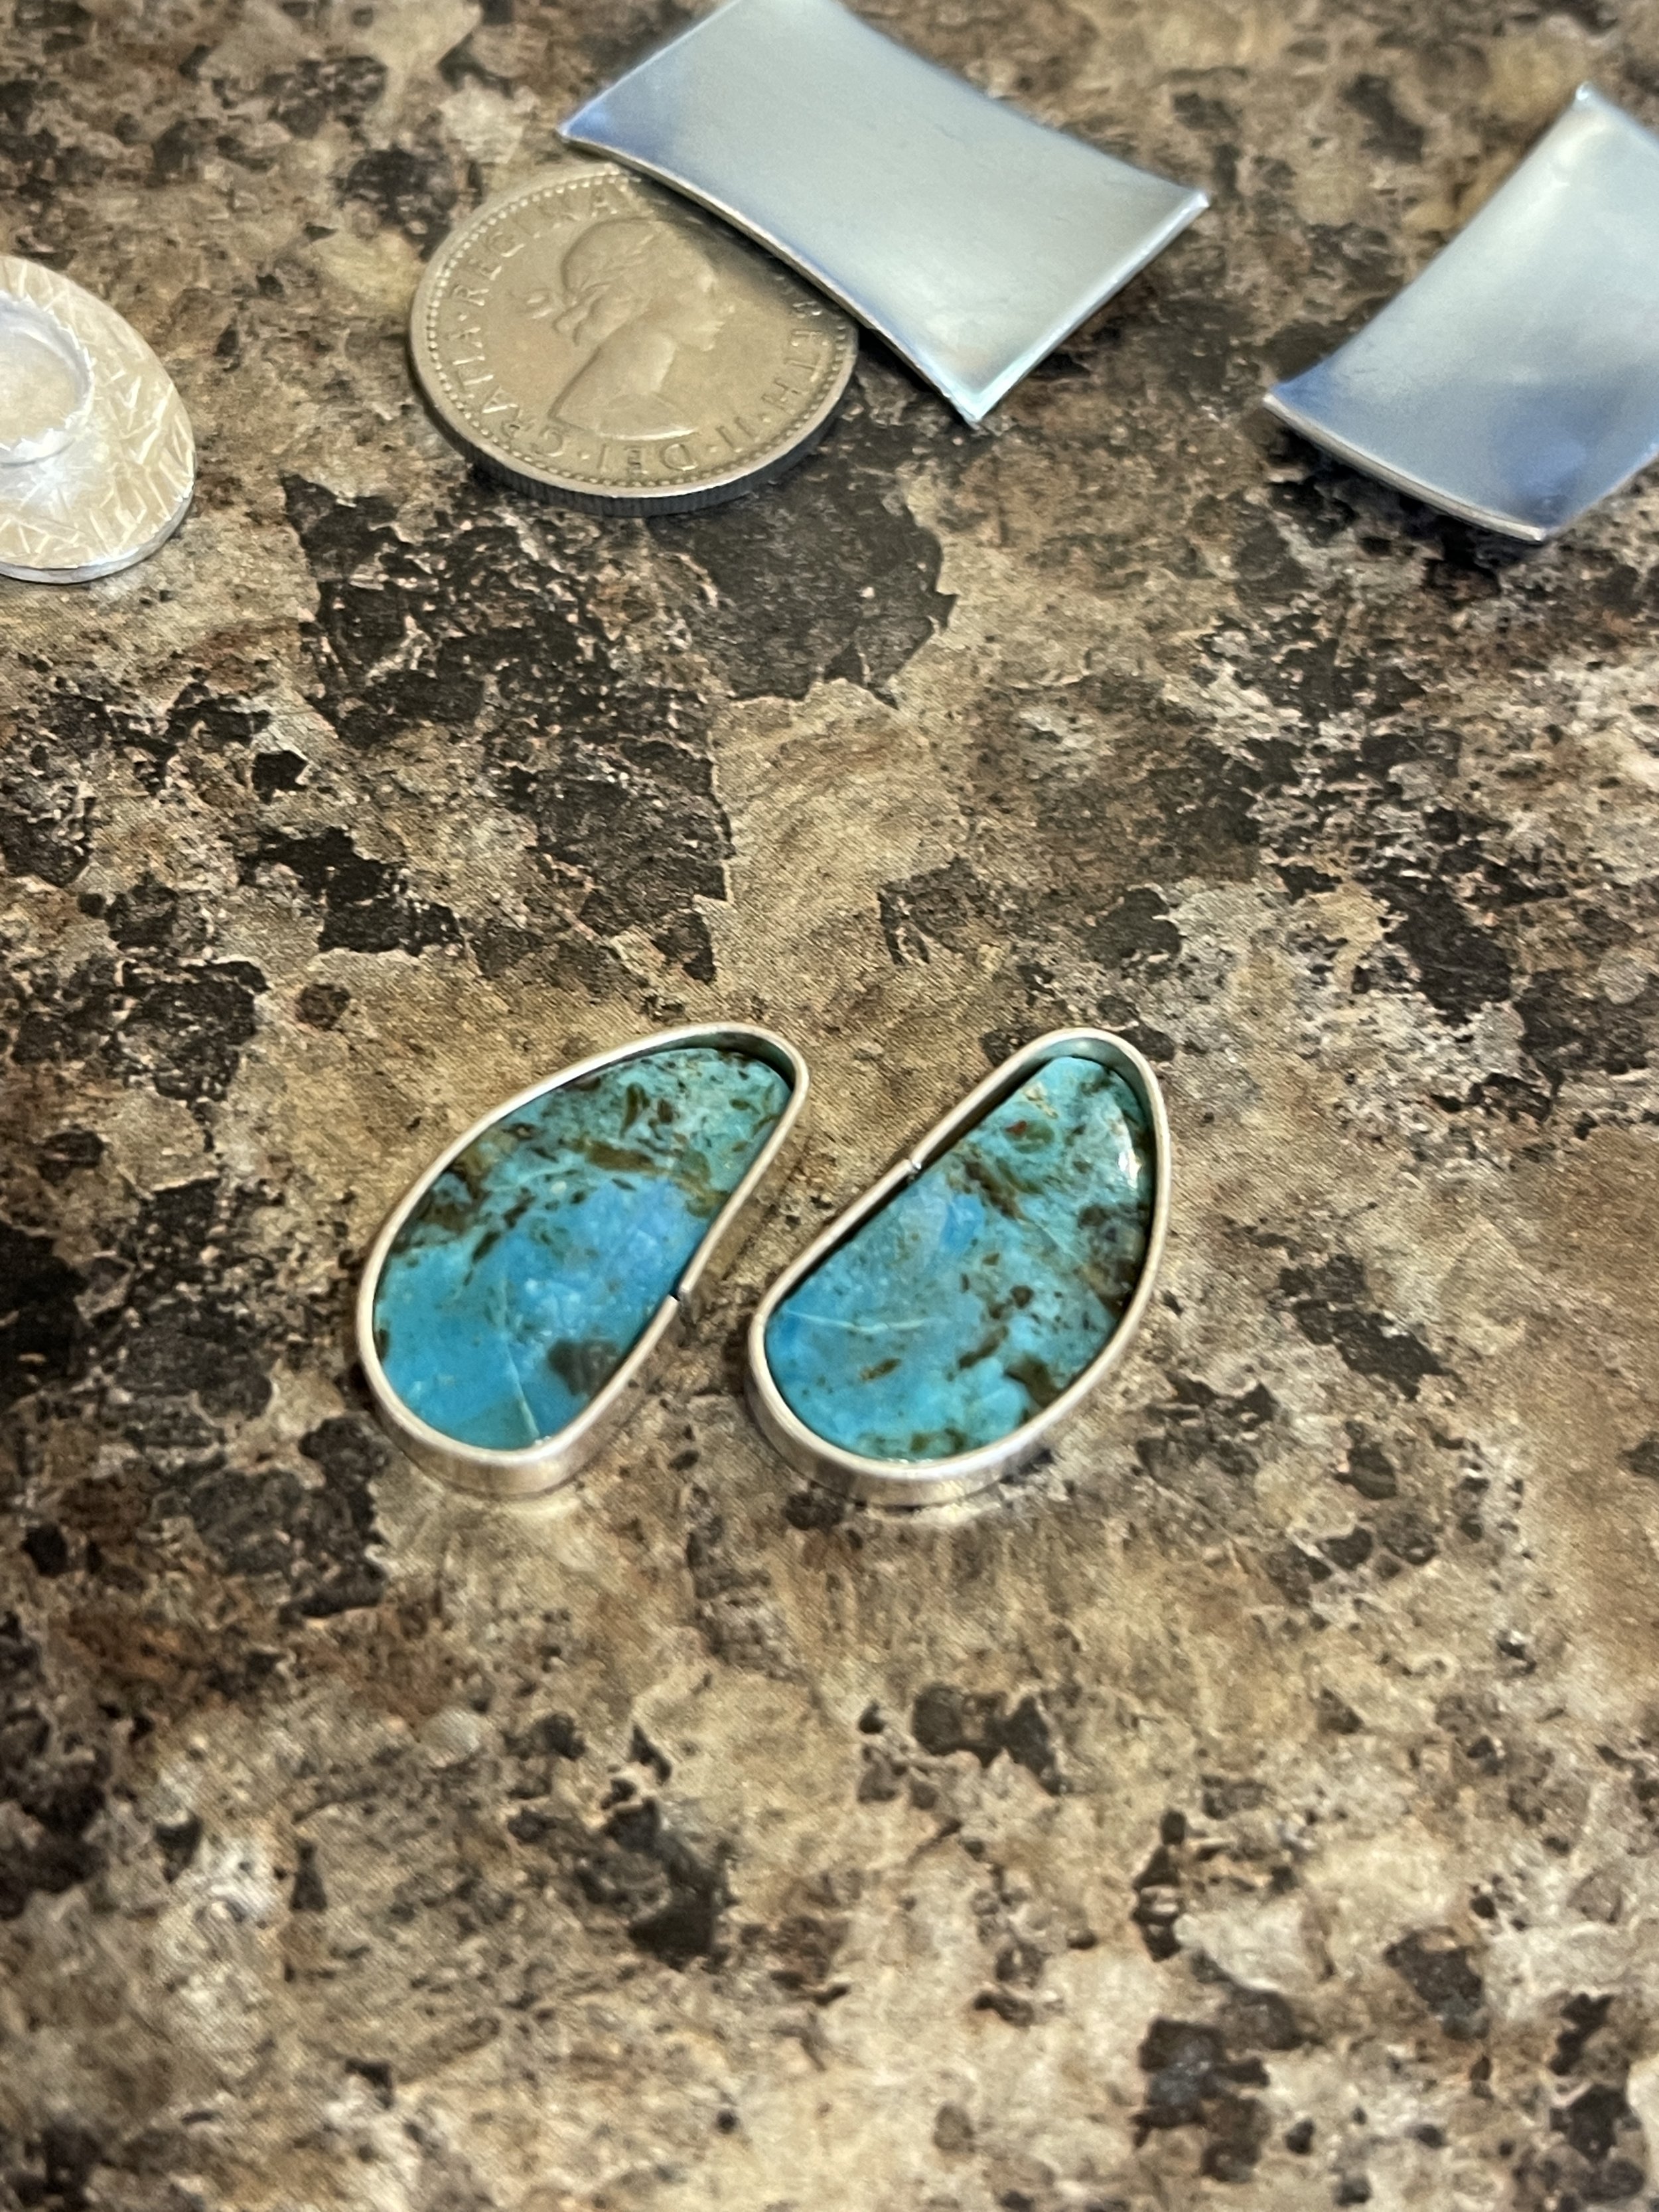
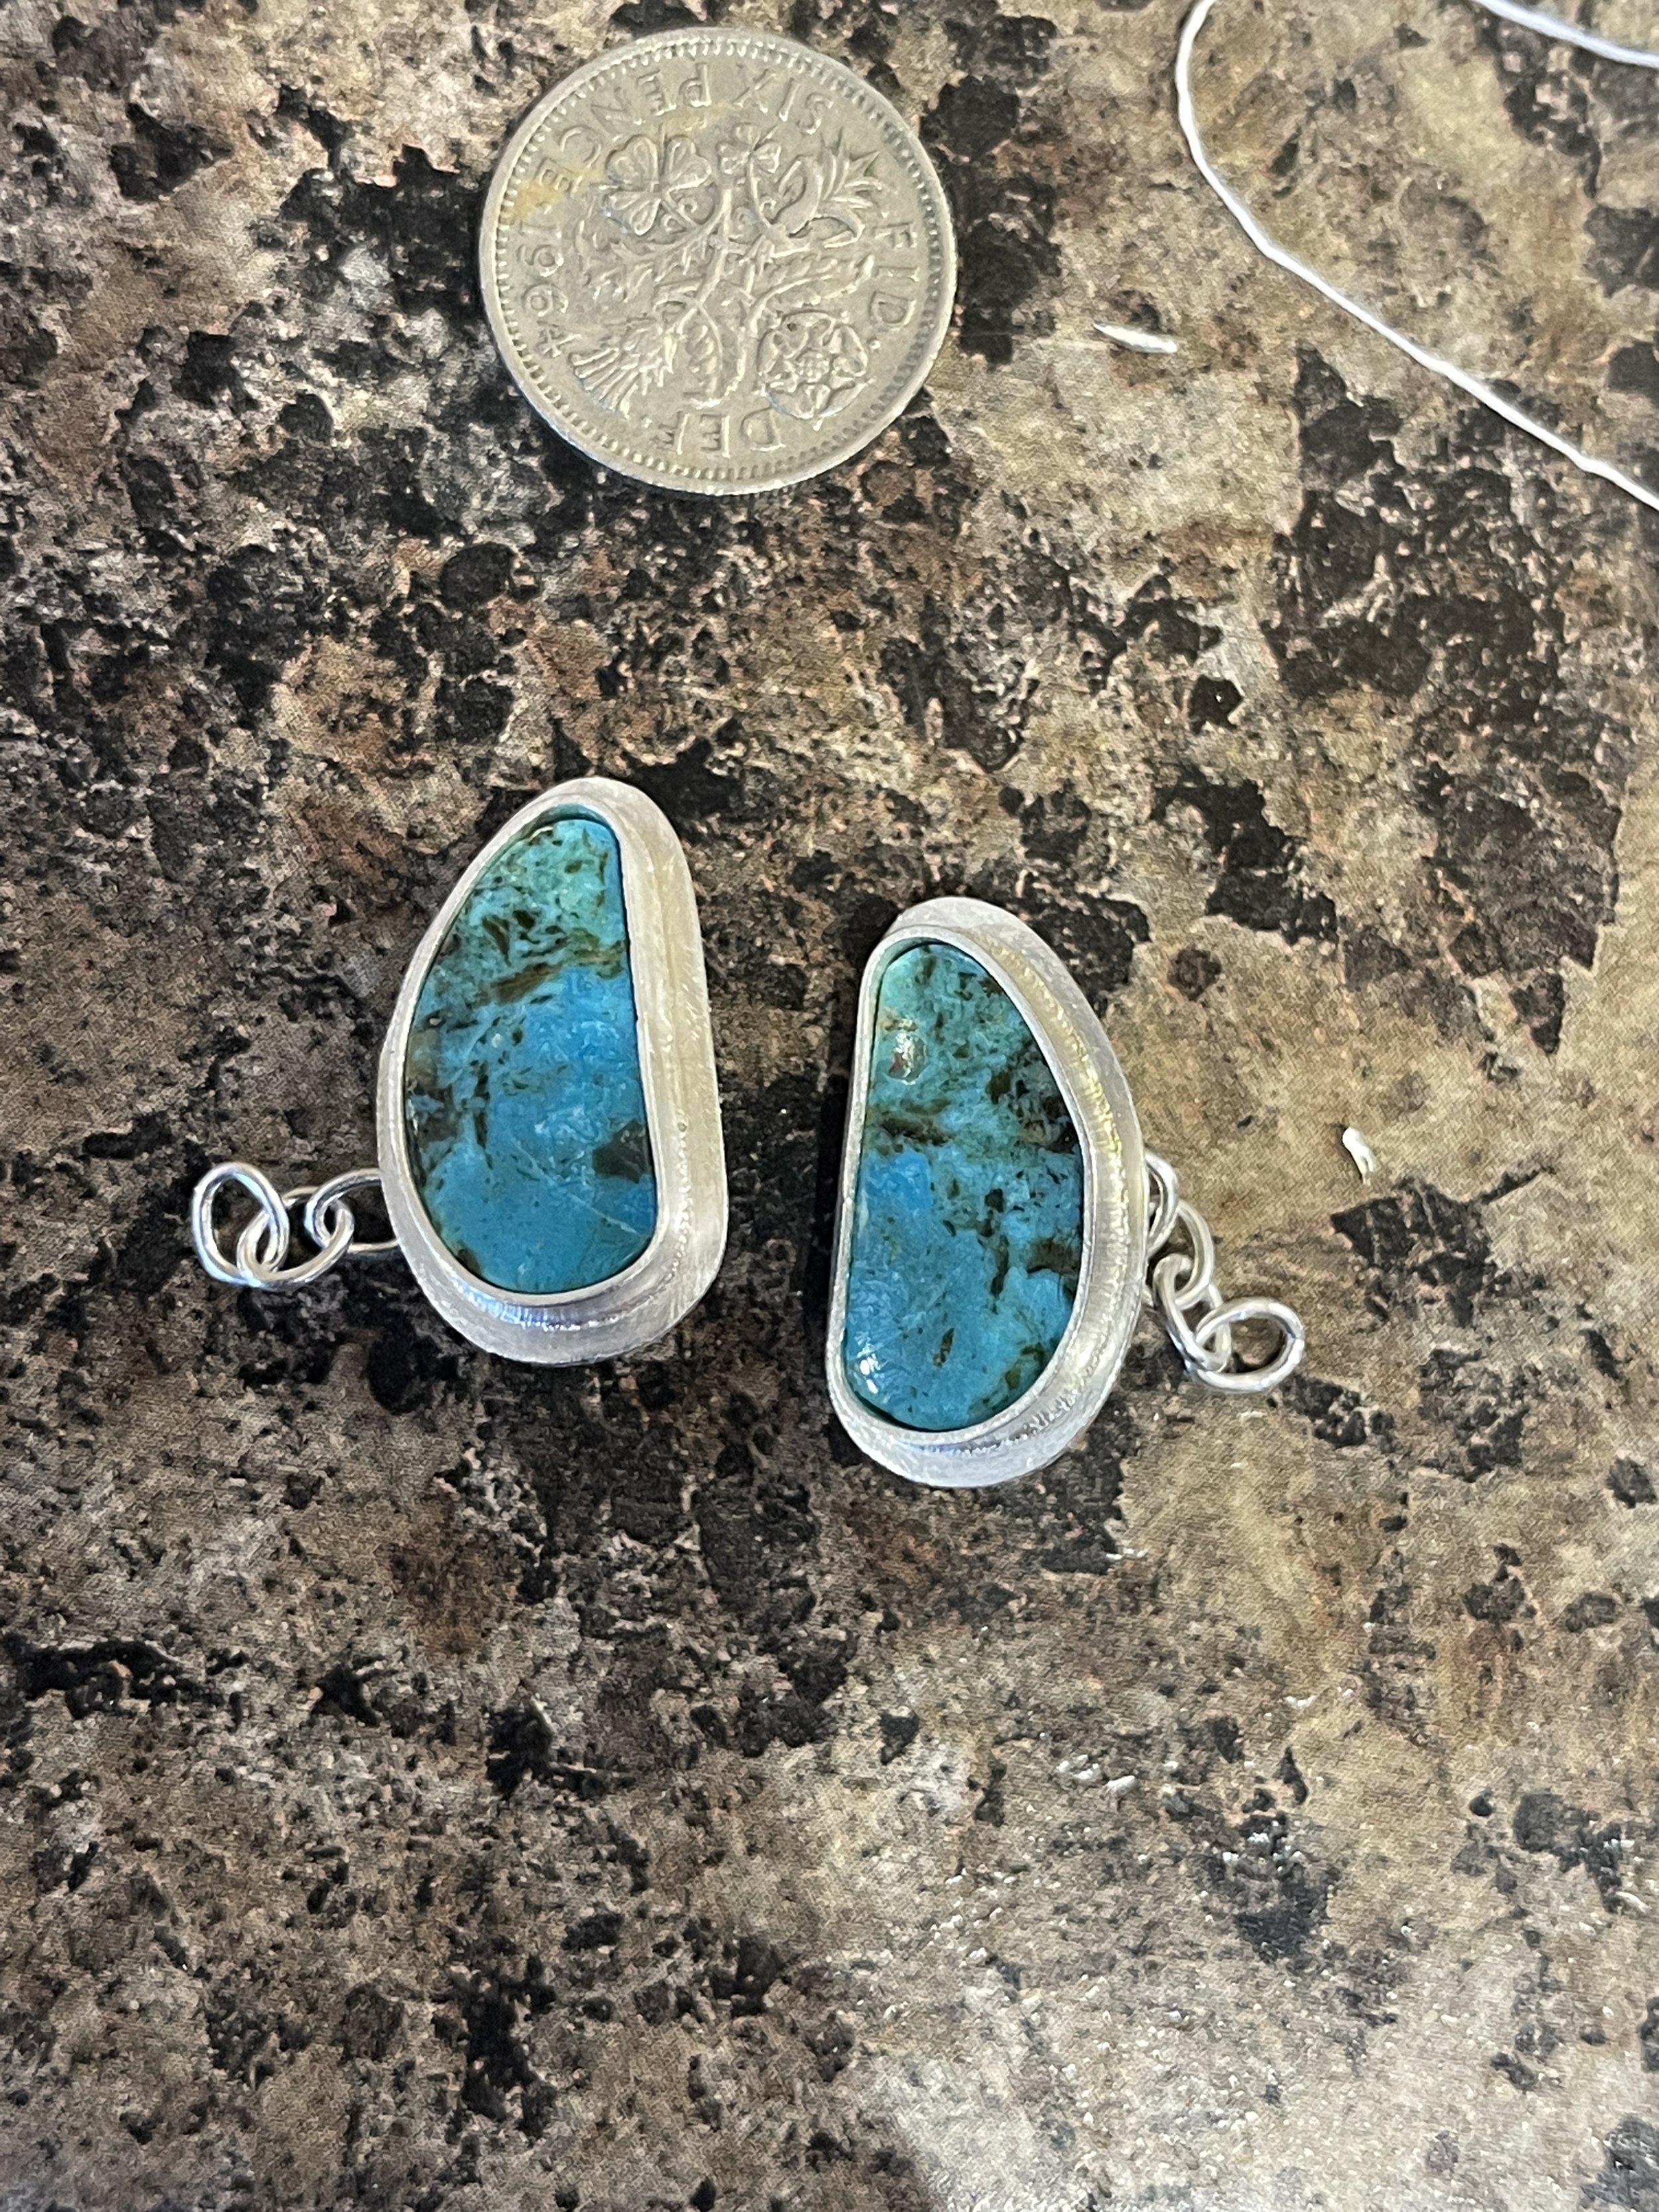
To add a pop of colour we chose a pair of stunning freeform Arizona turquoise cabochons which would be bezel set as one of the back pieces of the cufflinks, connected by chain for comfort. For an alternative look, we also selected two vibrant lab-created black opals to be set in my signature hammered silver settings.
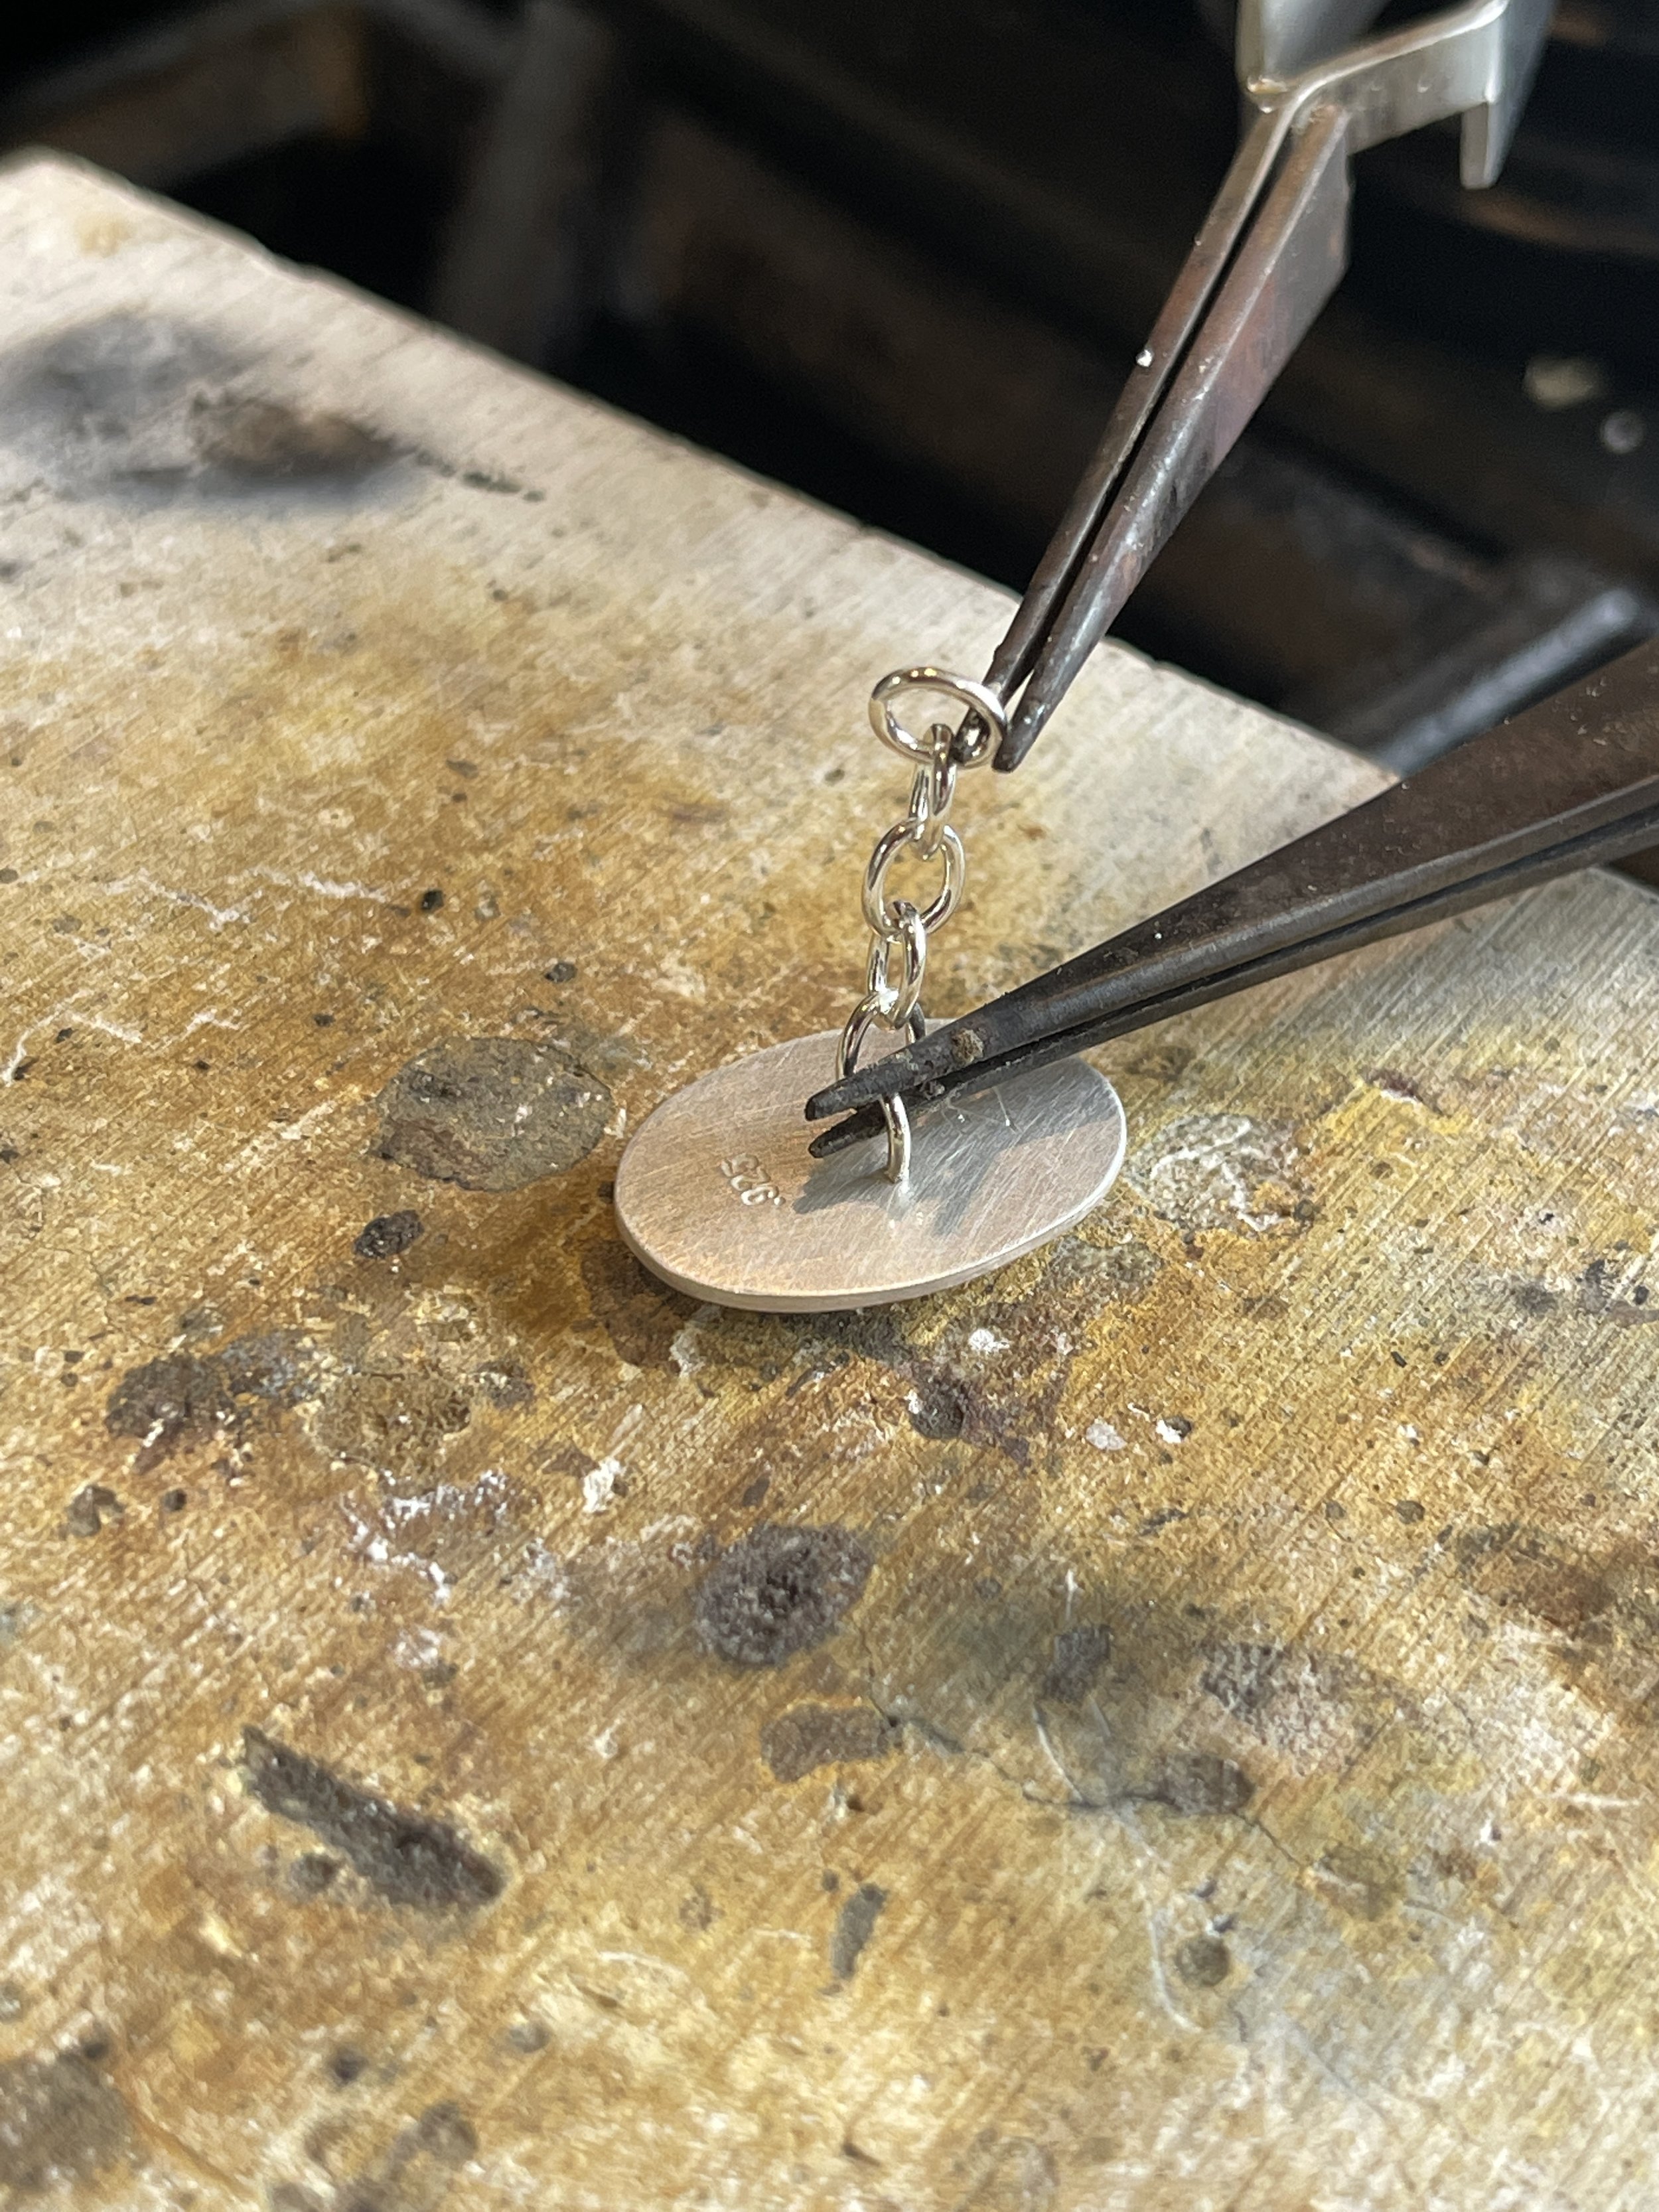
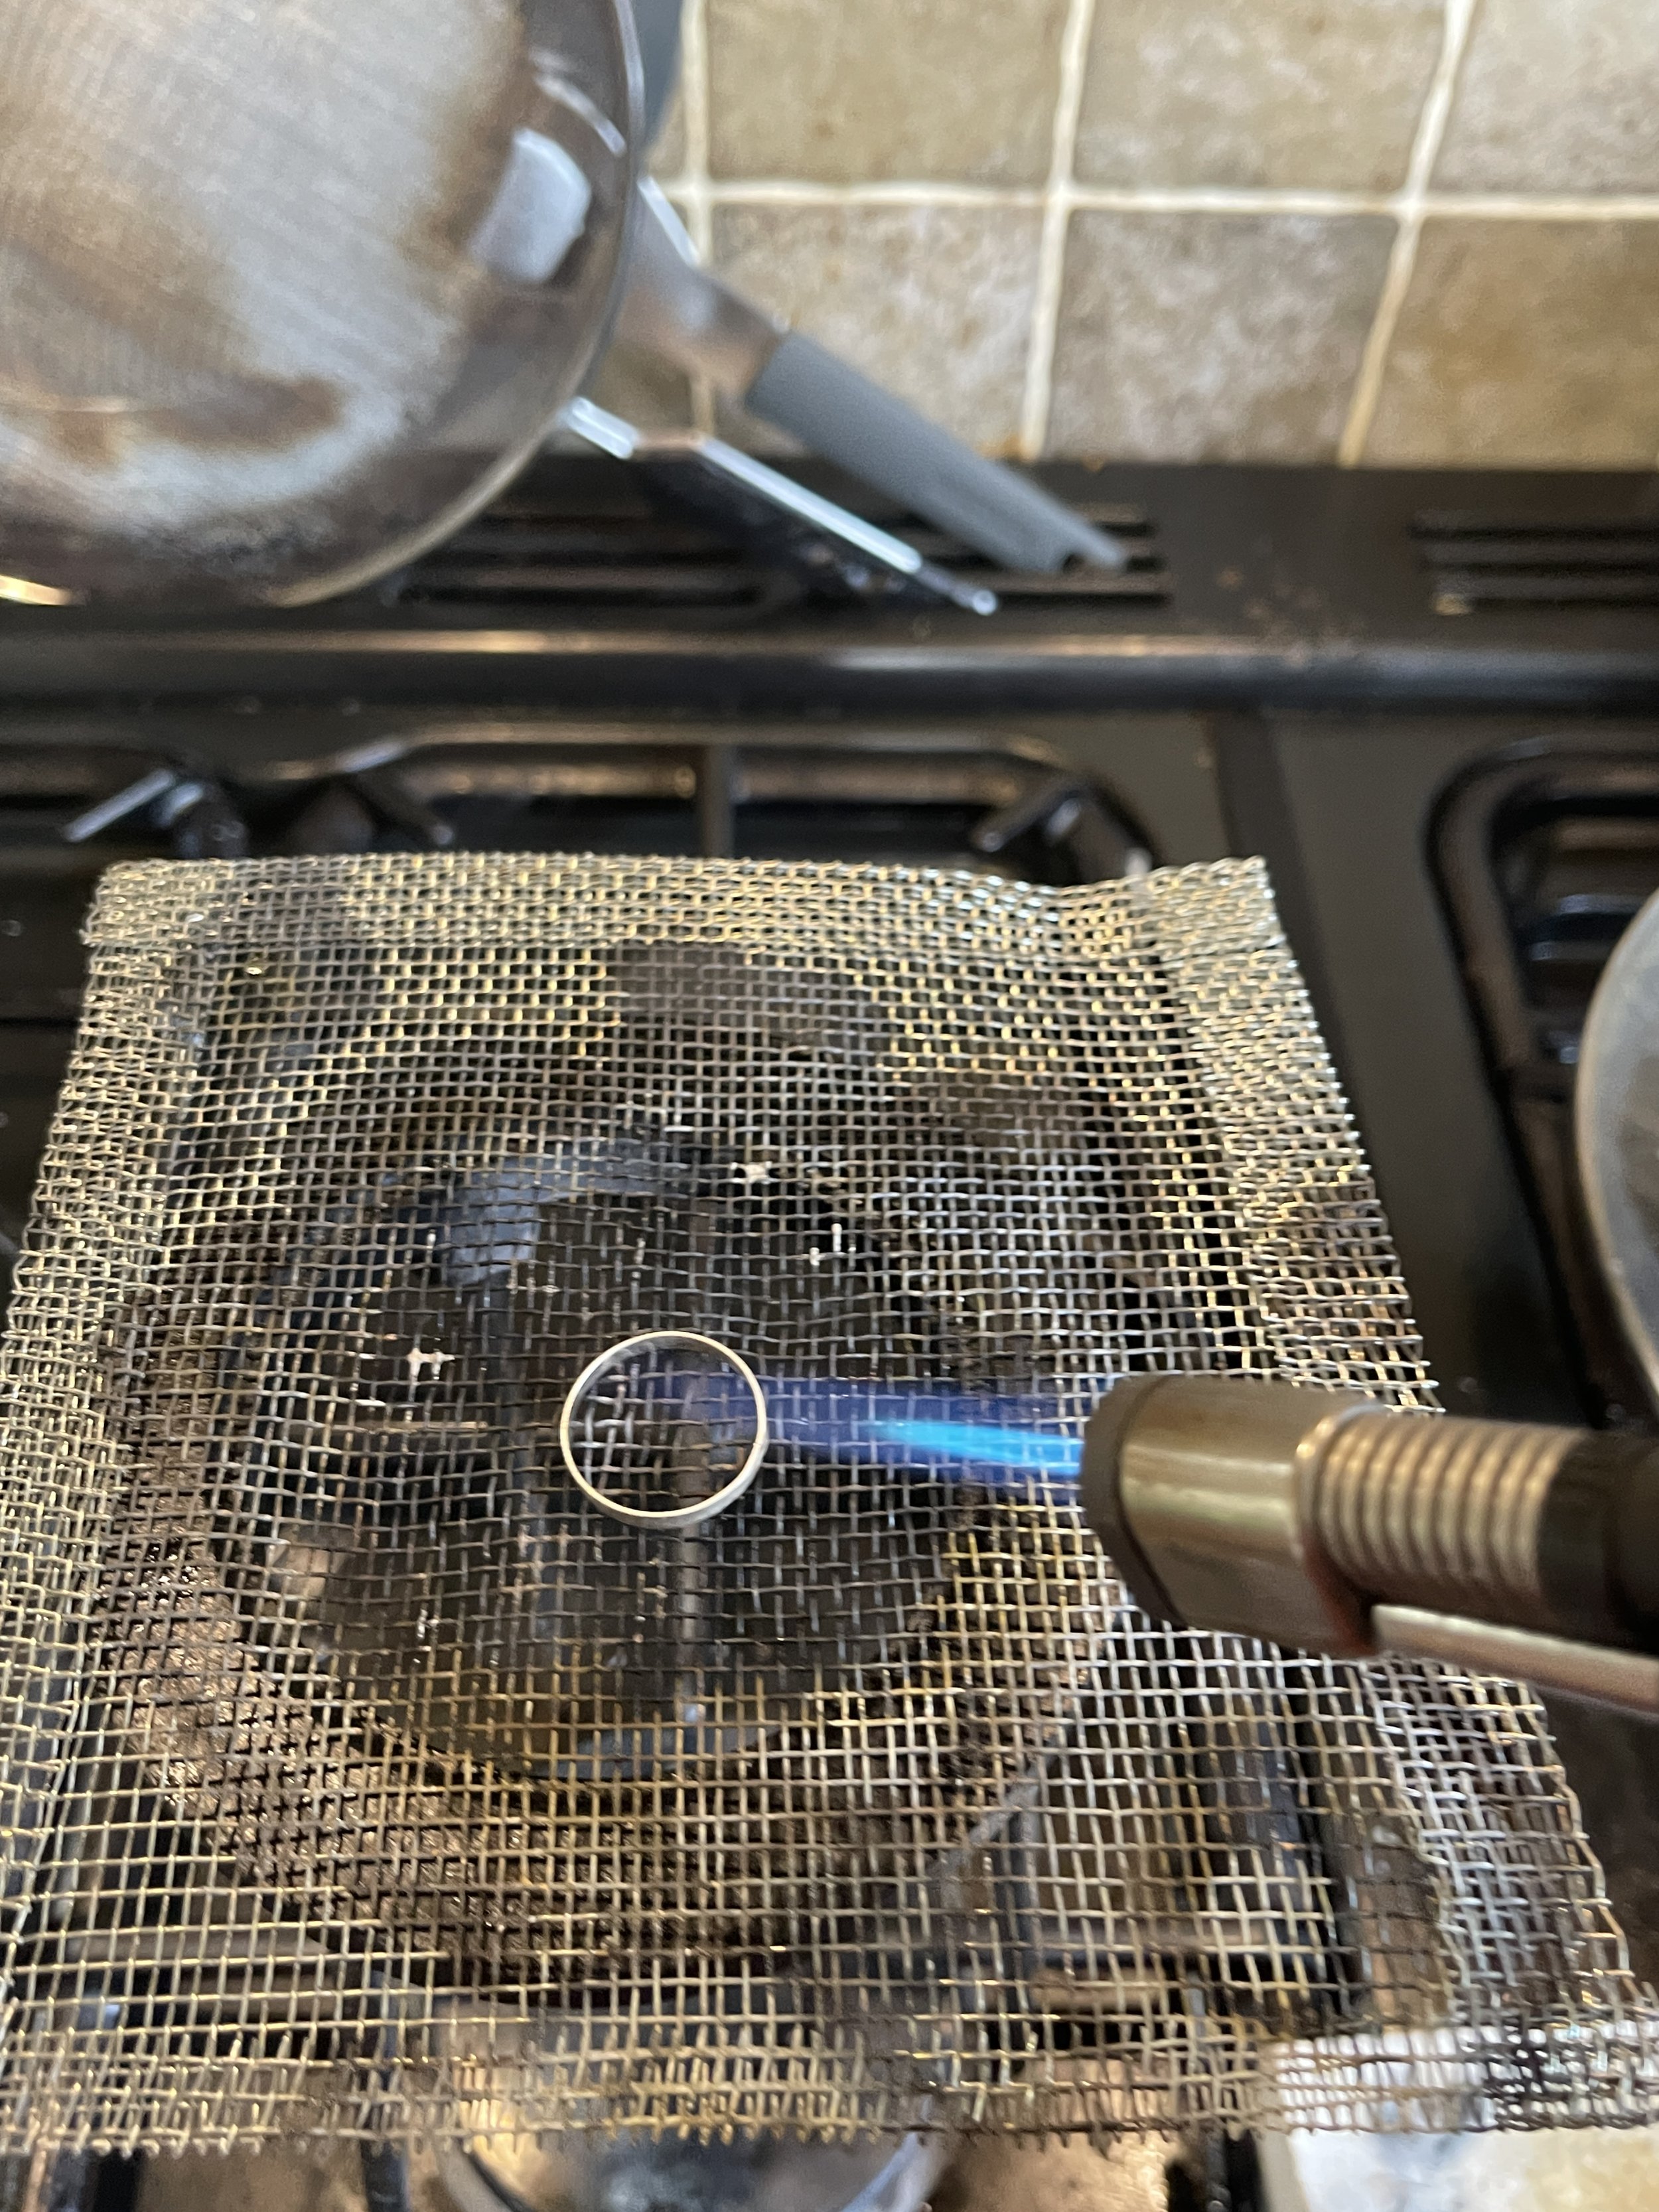
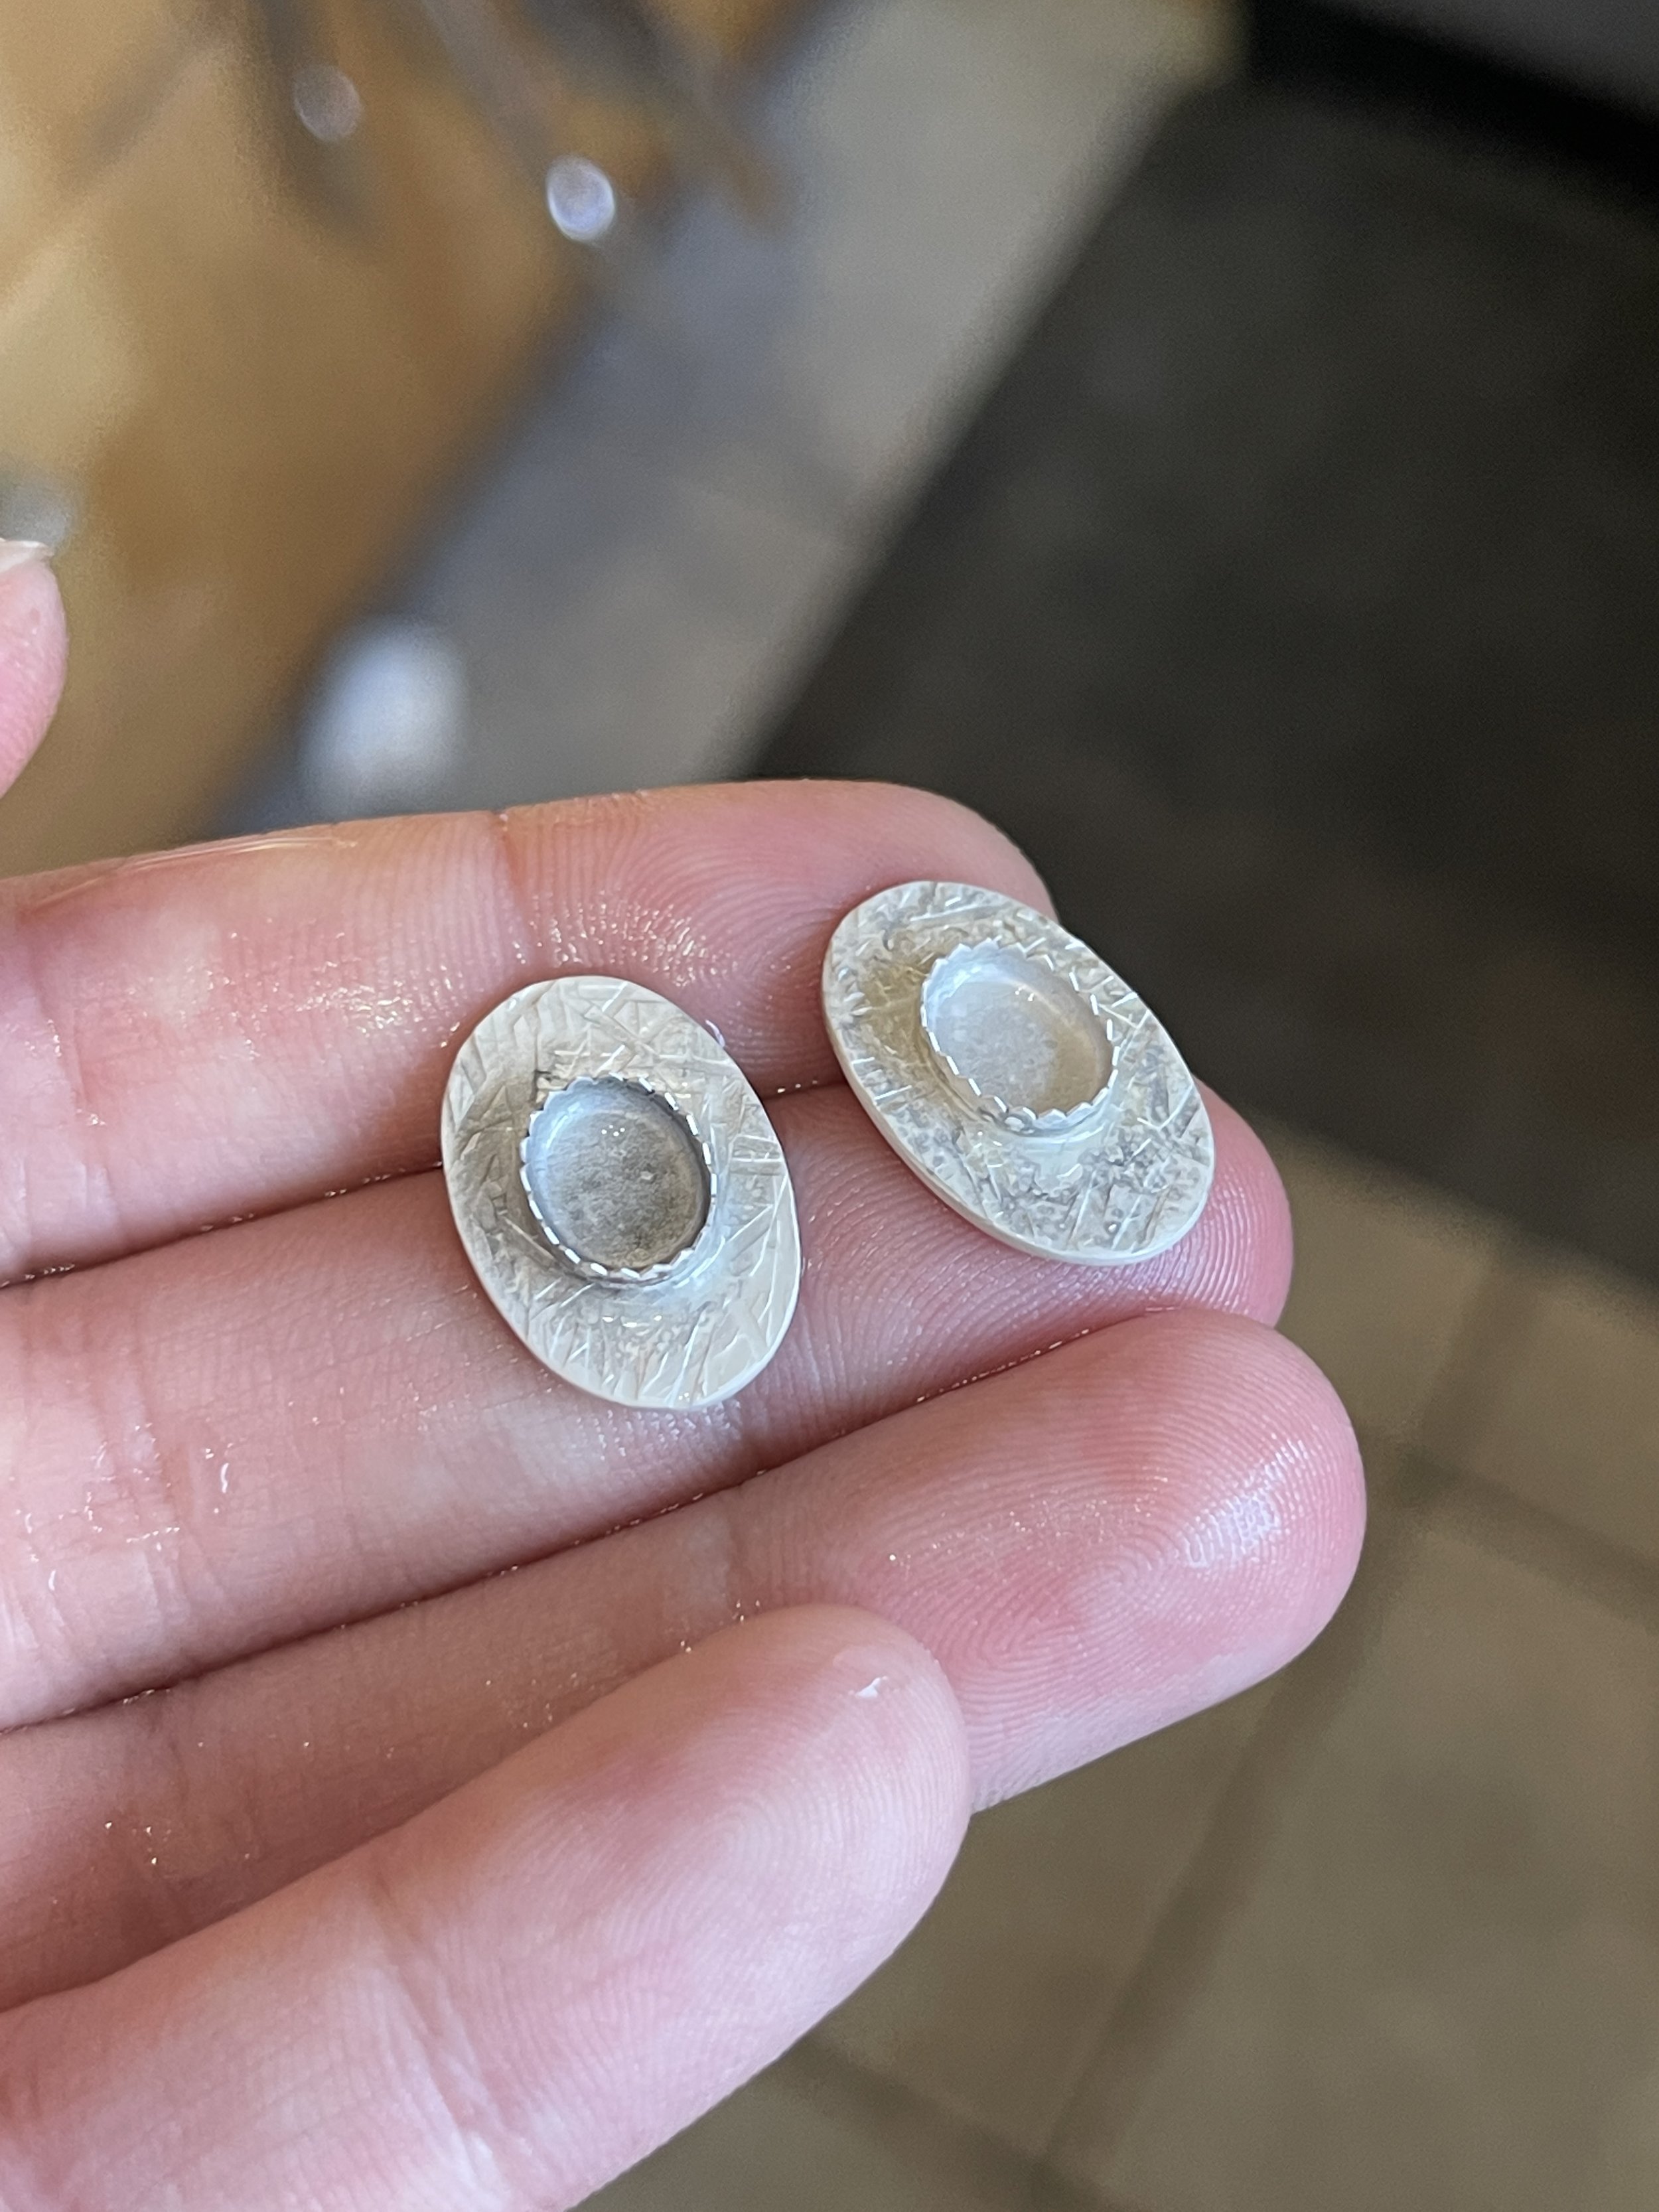
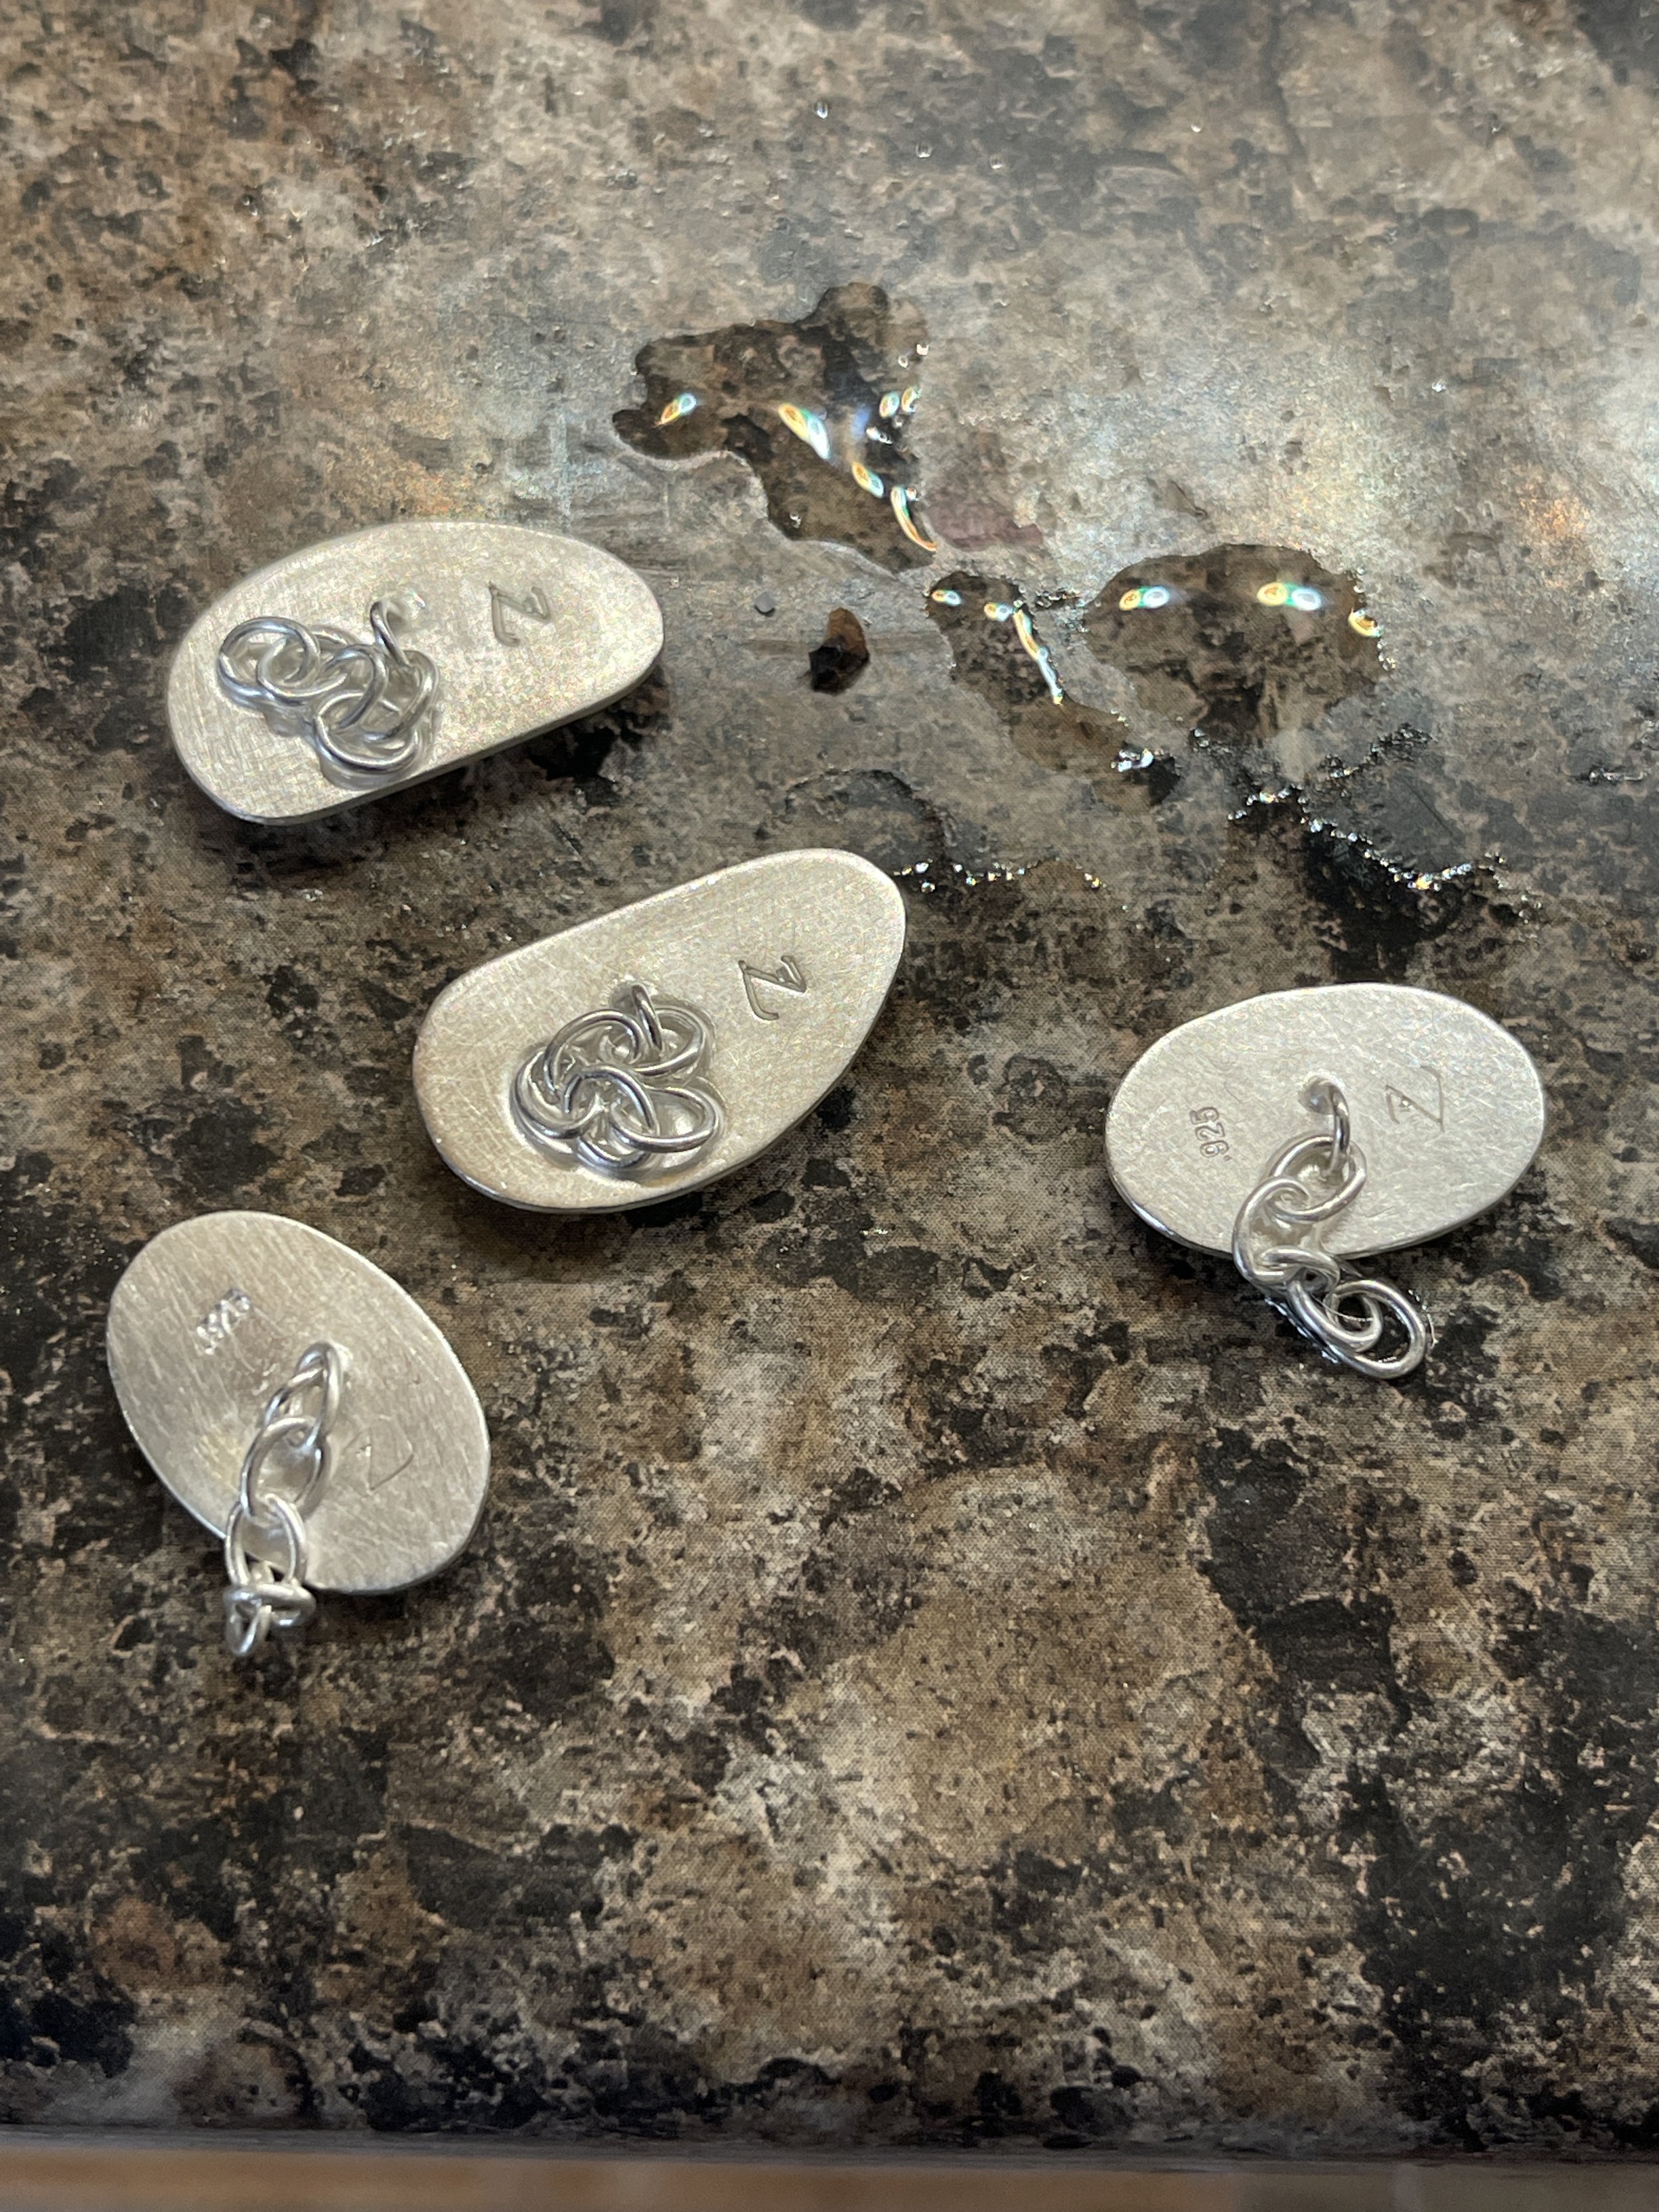
First steps of a bezel setting are to measure the correct length of bezel strip around the stone/coin, then solder it onto sheet silver to make a solid casing for the feature coin. You have to make sure that the solder flows smoothly all around the join to give a strong, long lasting piece. These are then trimmed up and sanded, then the chain is soldered to the back and finally the coin is set using a bezel pusher.
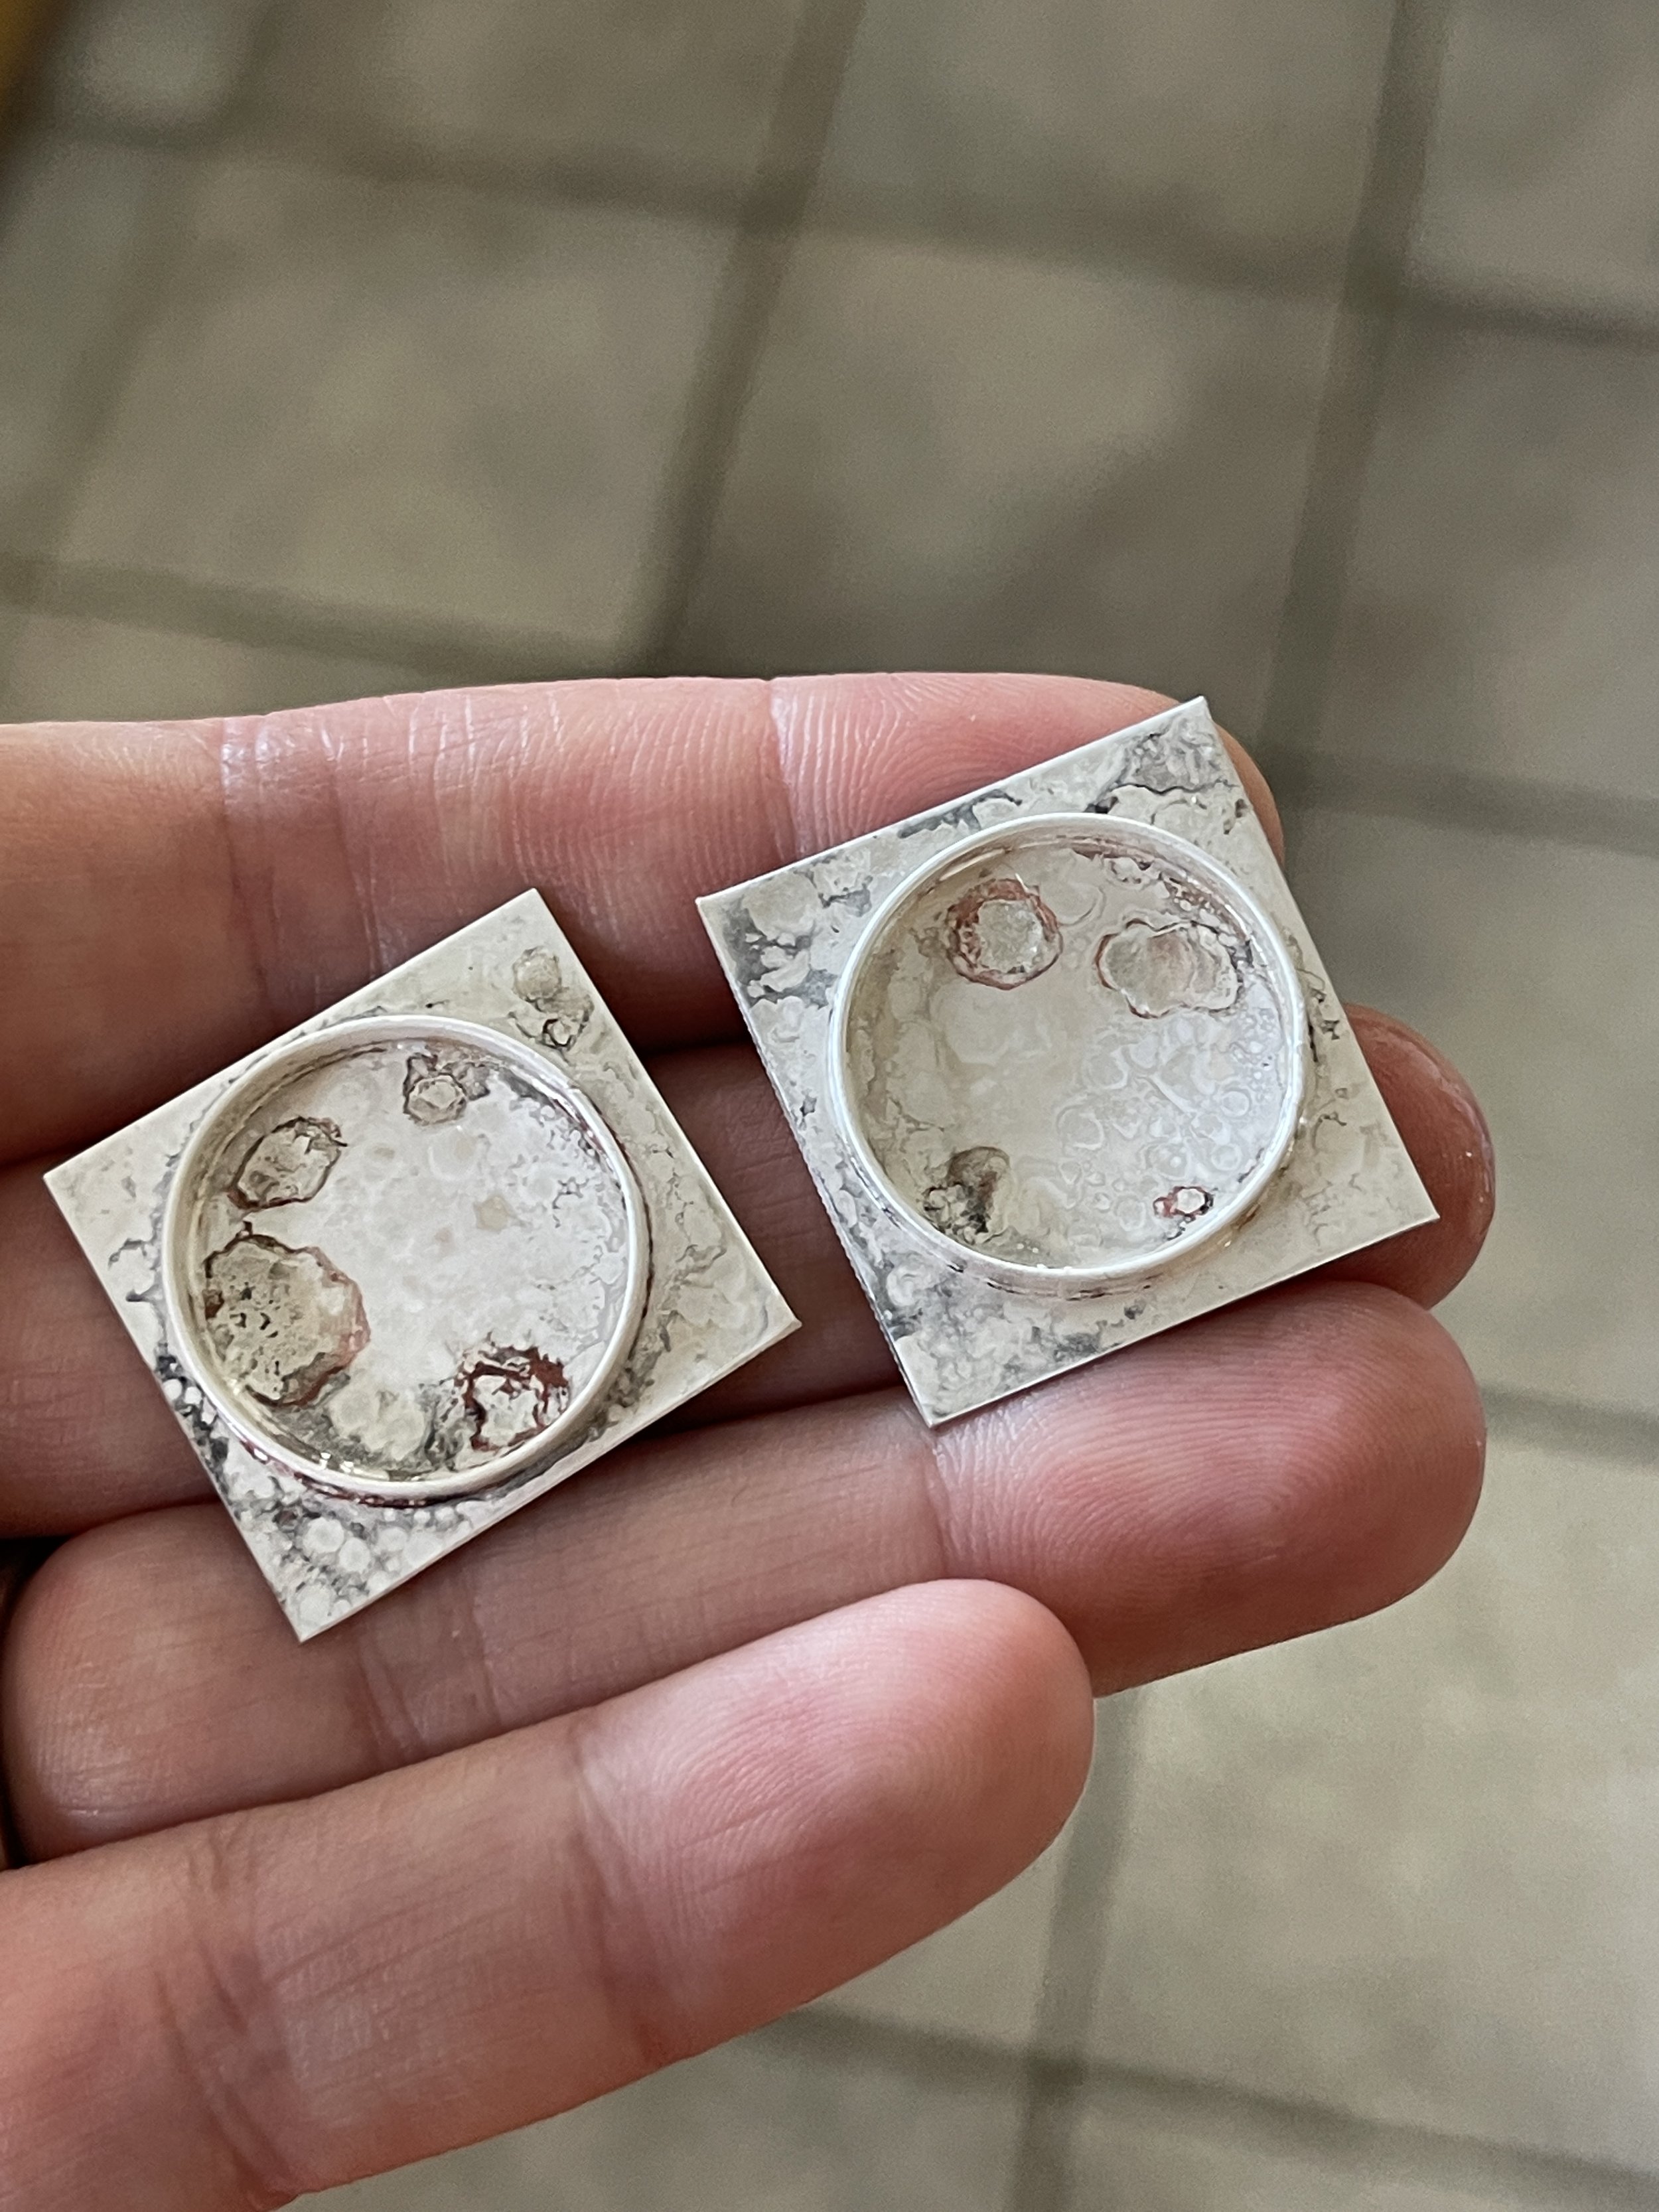
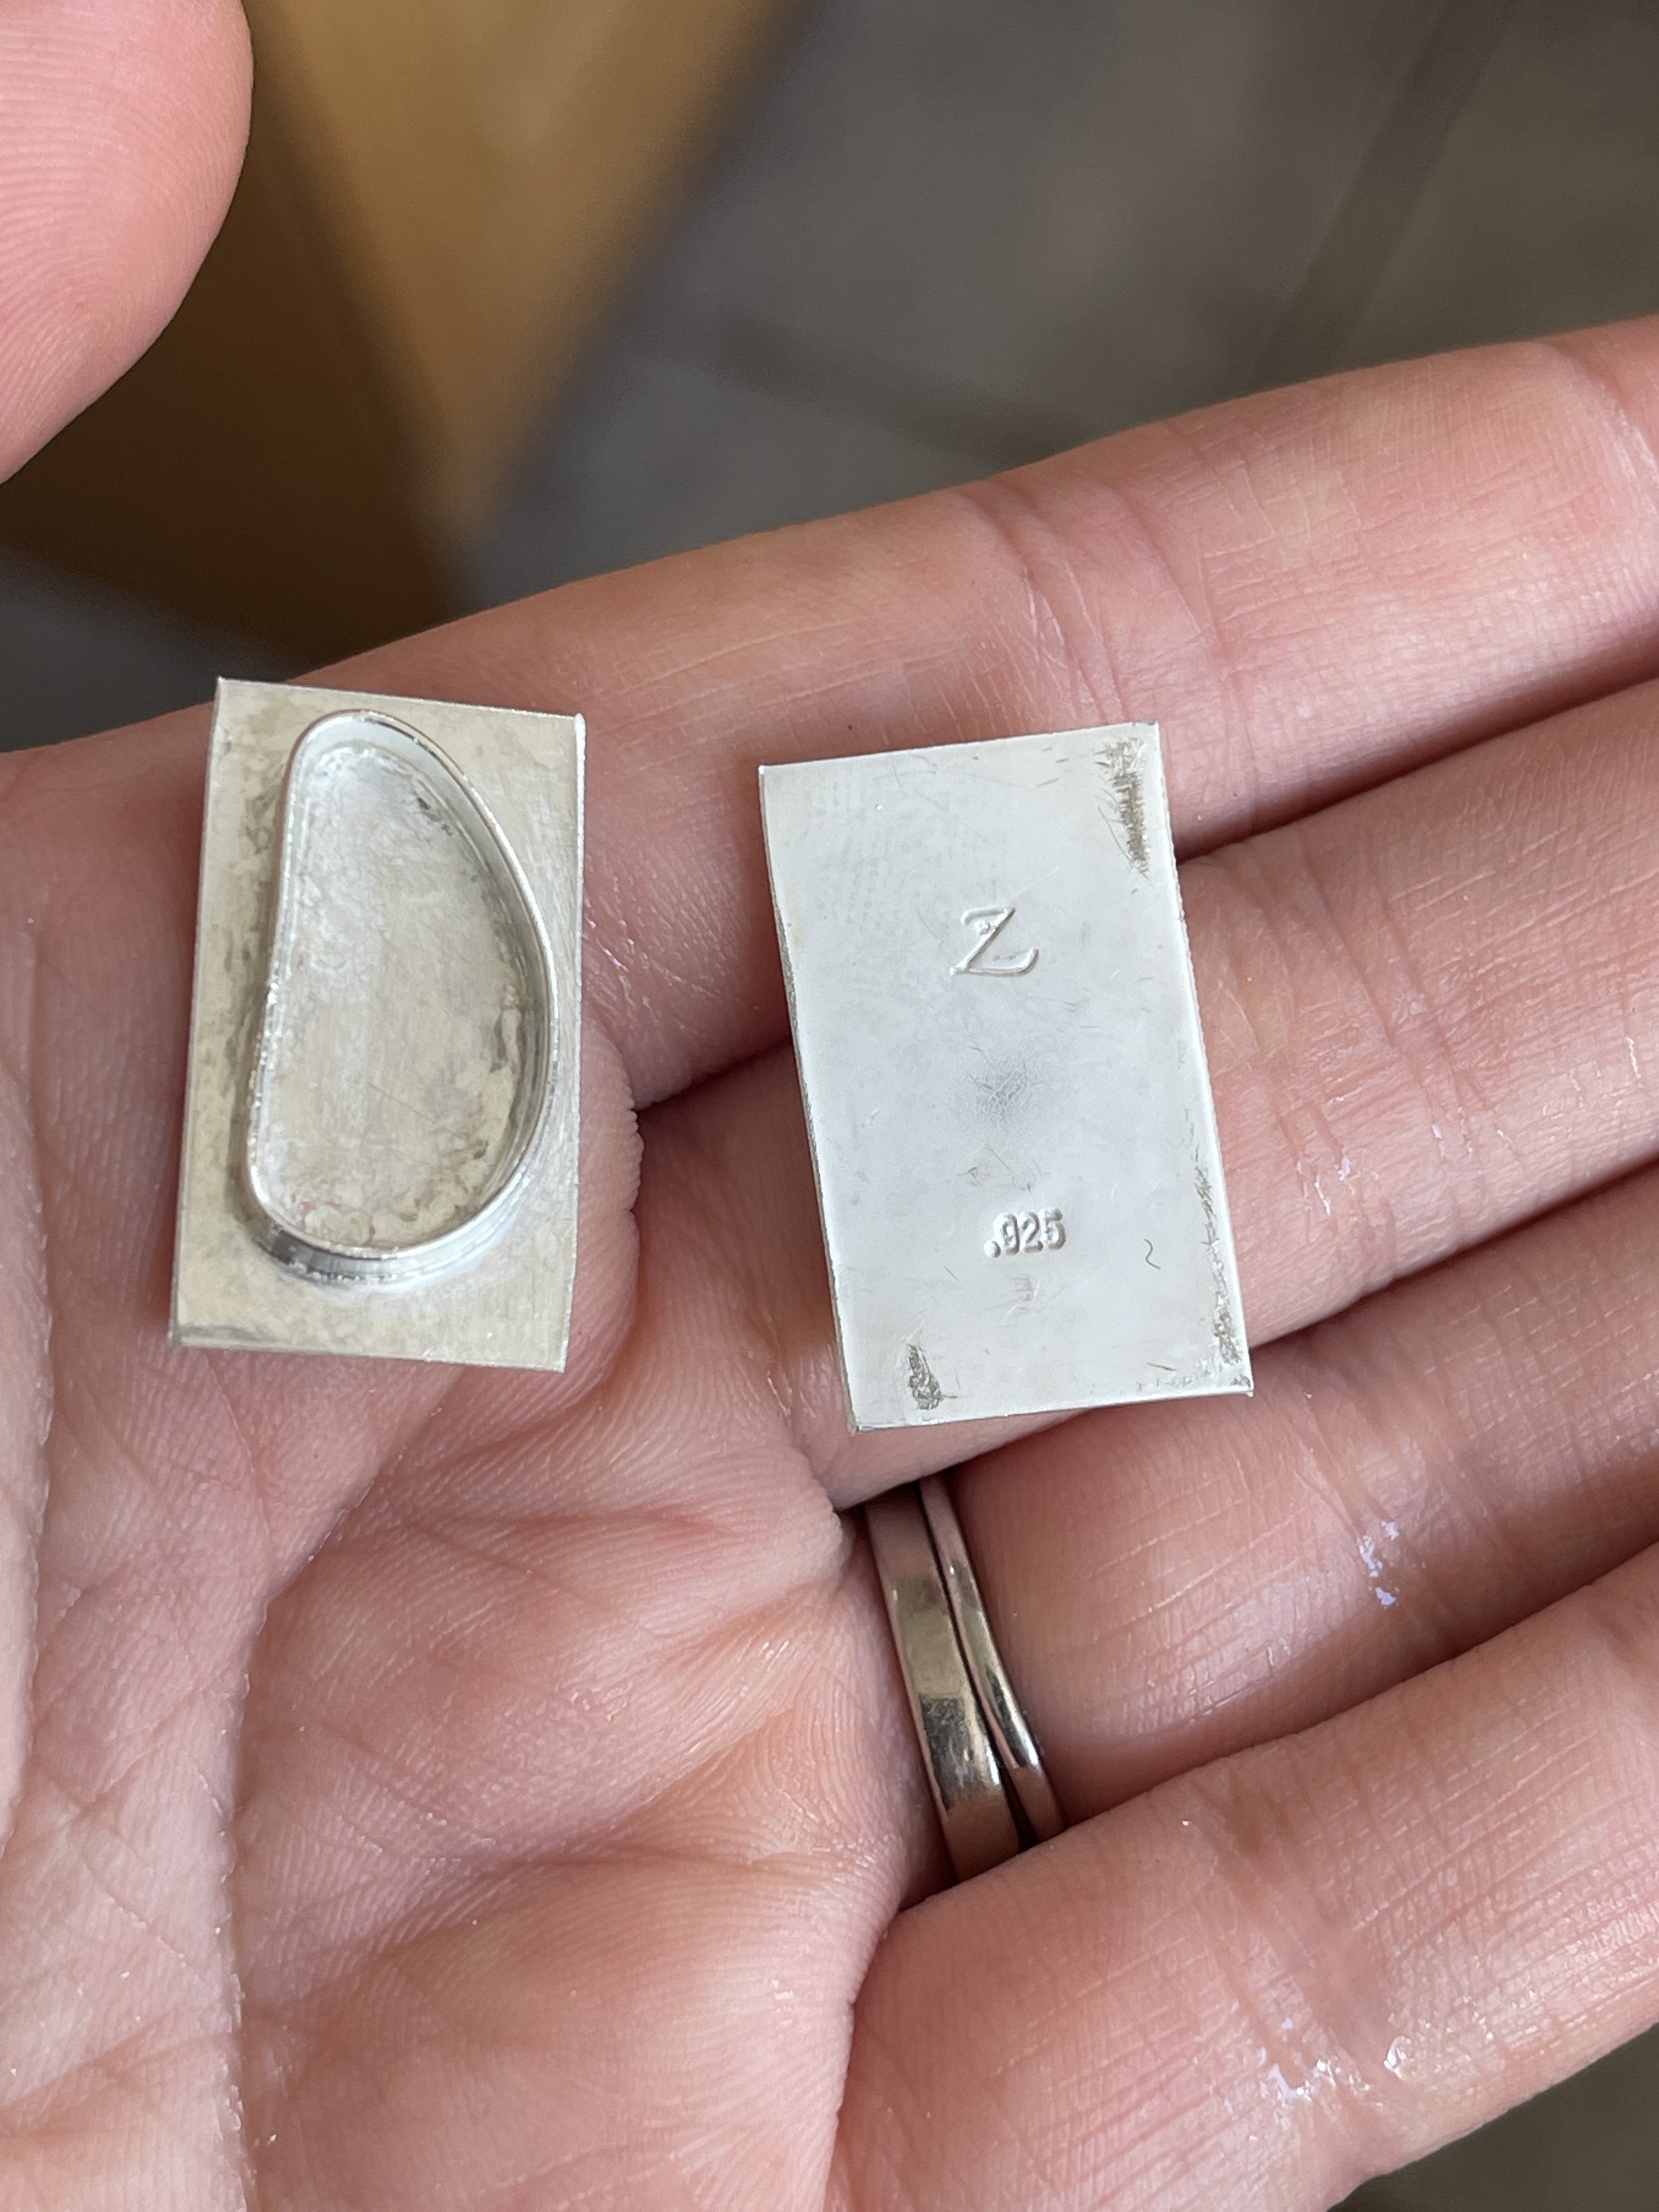
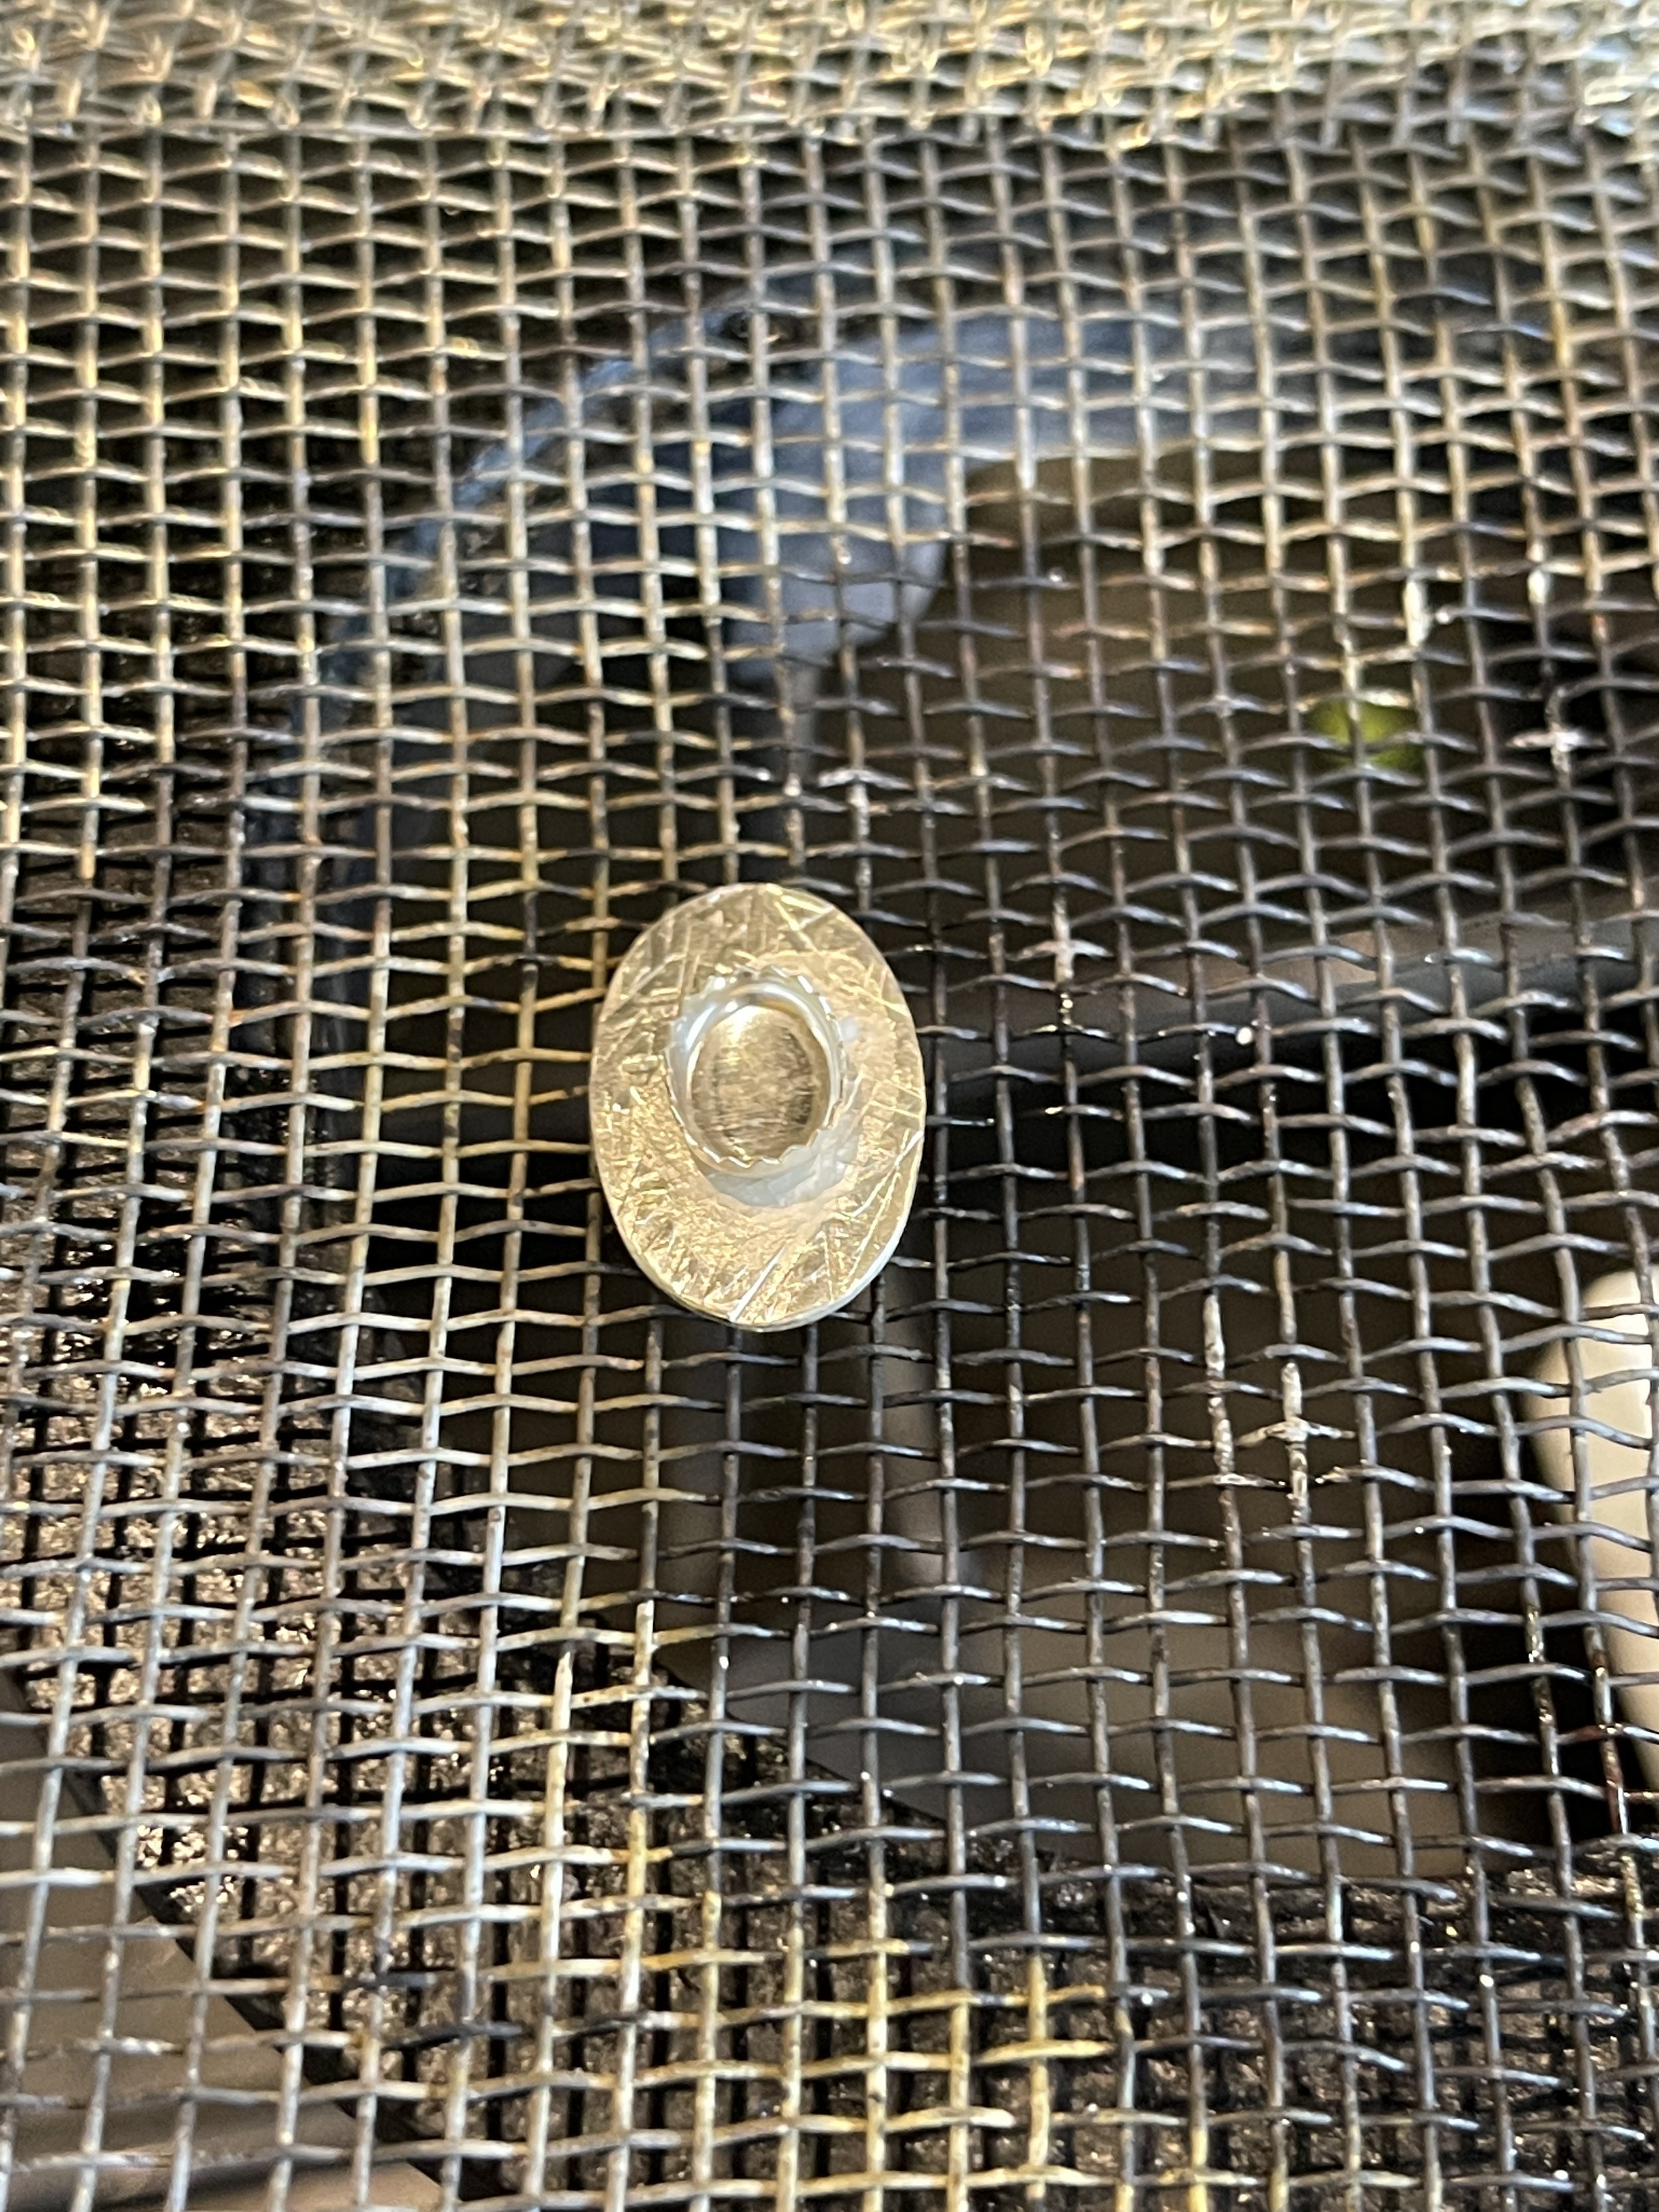
This process is repeated for the Arizona turquoise, with their freeform pointed oval shape adding an extra challenge to the bezel design. Each one is subtly different in size, shape and depth and so the bezel length is measured more by feel than by callipers! I actually ended up recutting one of the stones to reduce its depth to match the other stone better. I made sure to remember to stamp the sheet with my maker’s mark ‘Z’ before assembling the pieces; doing this later would totally distort the piece so it has to be done first.
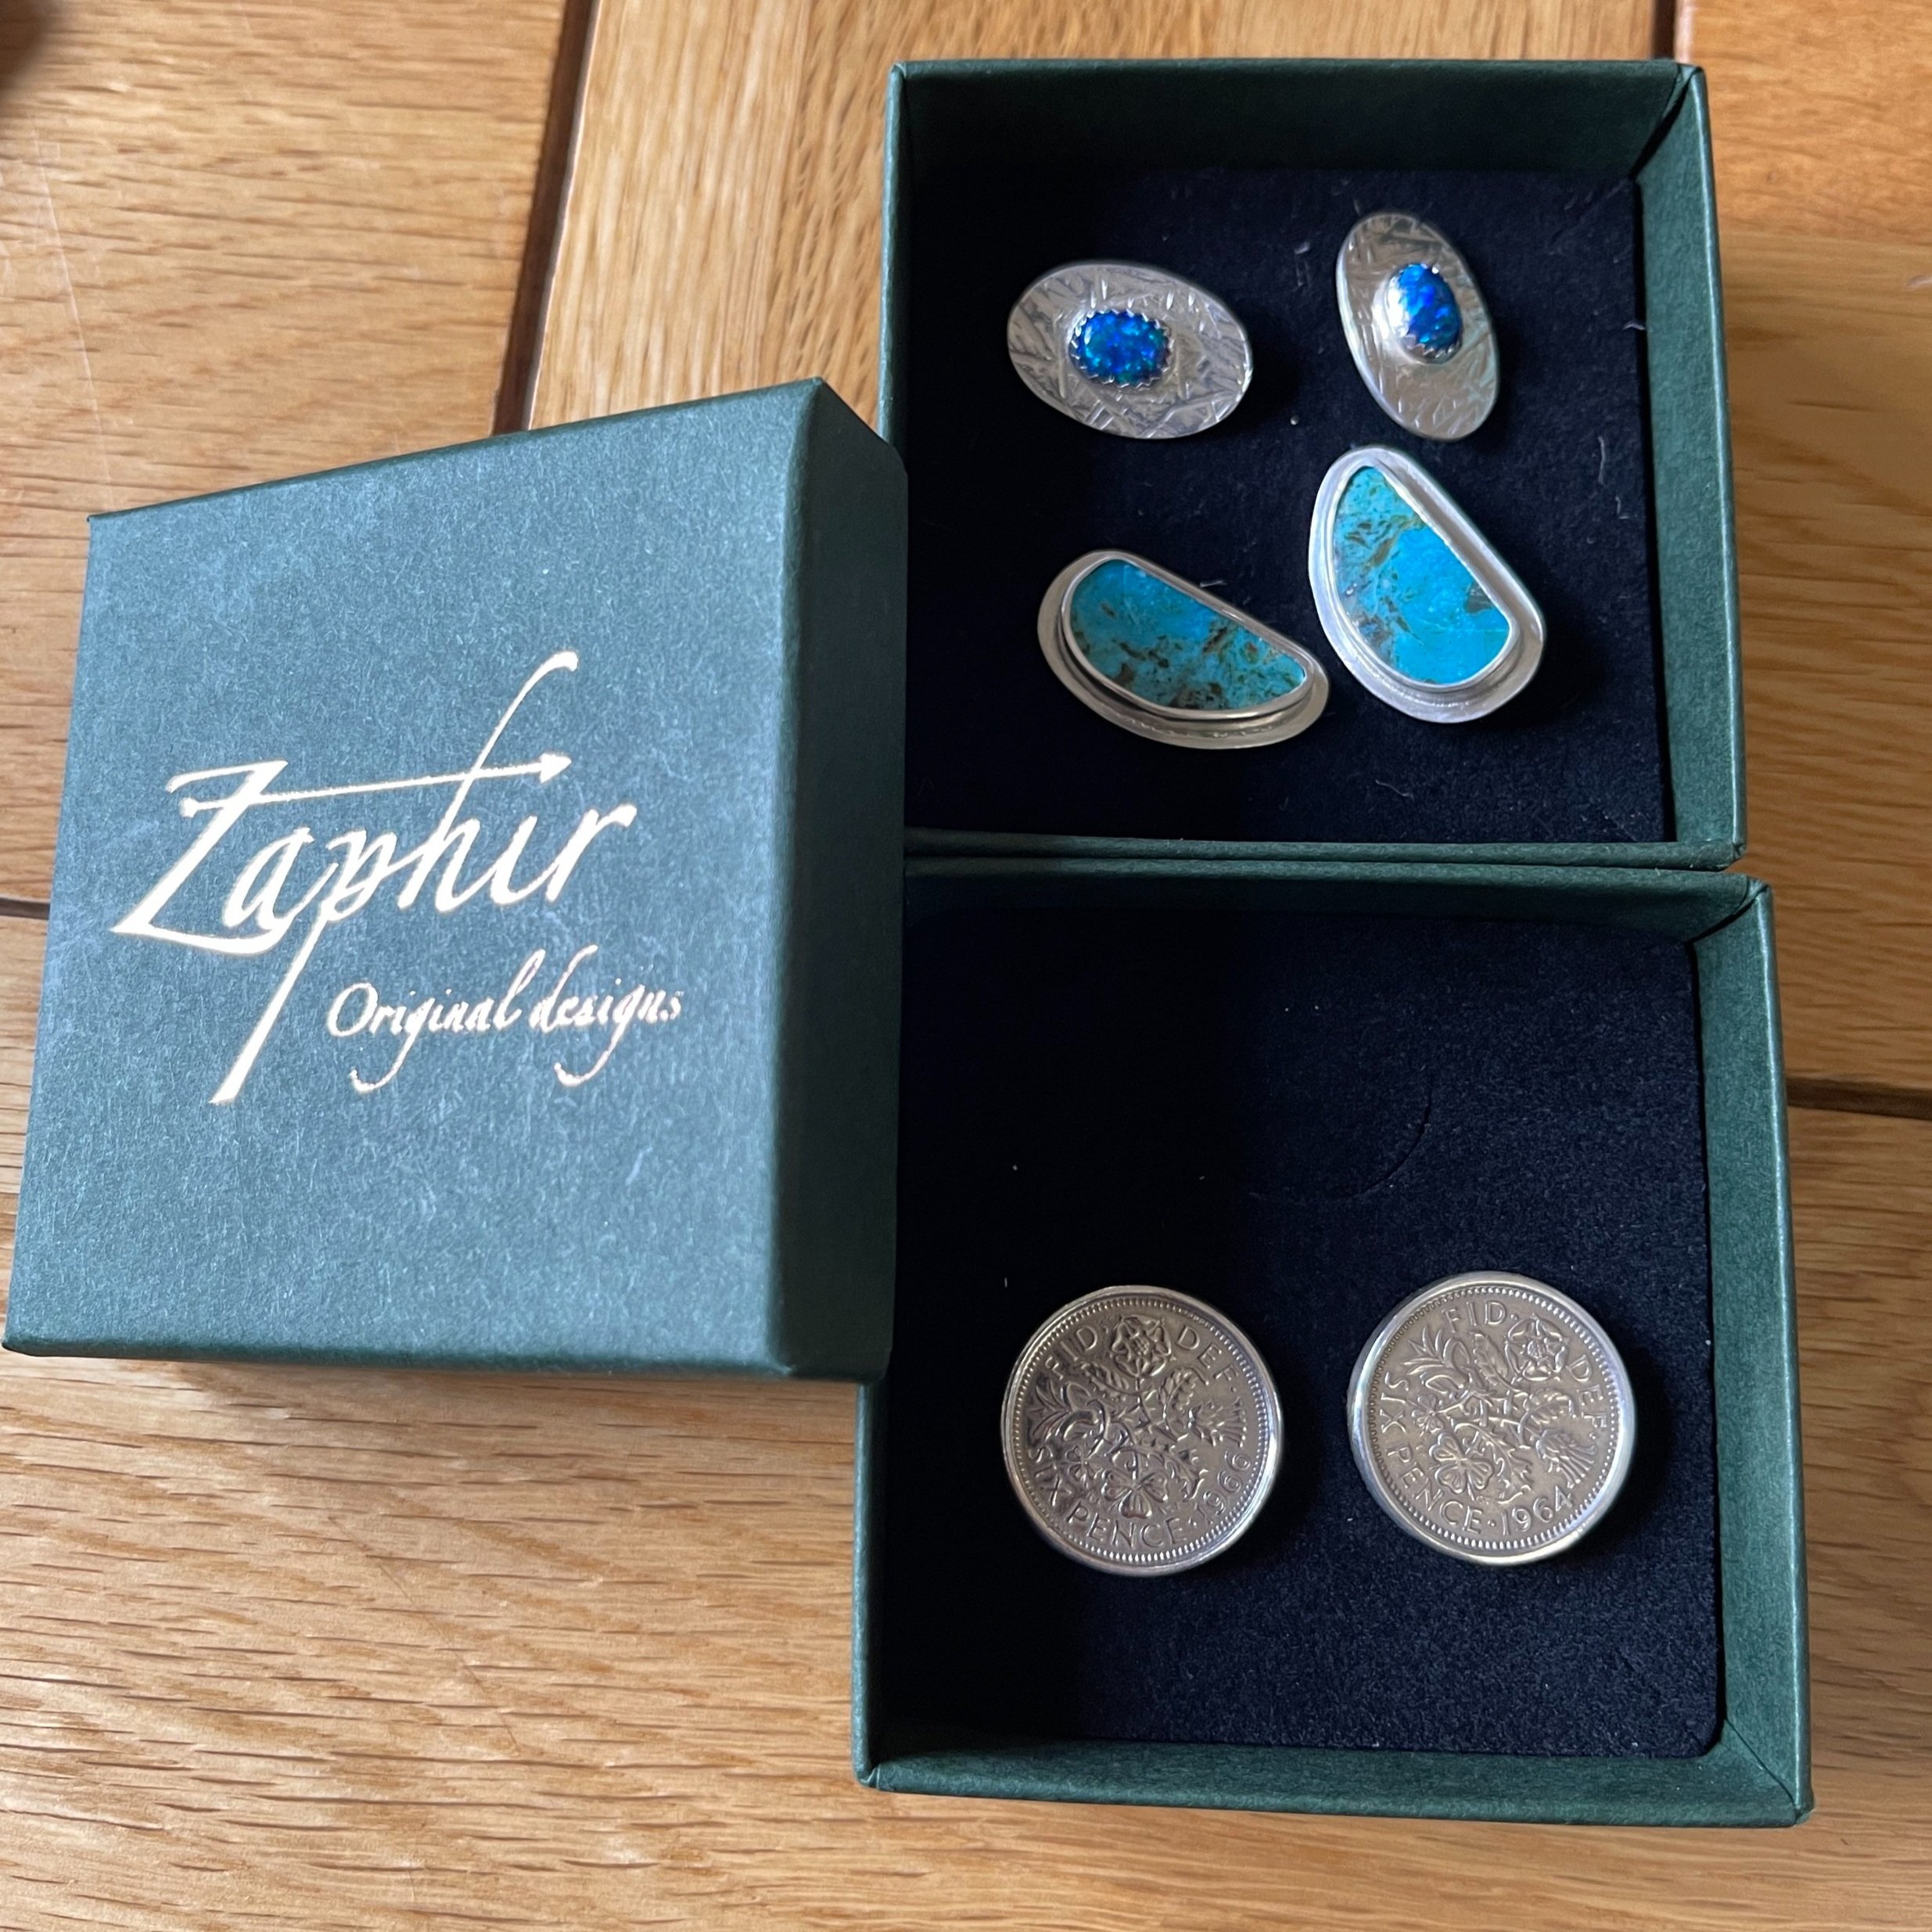
Setting the turquoise is yet another challenge; turquoise has a hardness of around 5-6 (out of 10) on the Moh’s scale of hardness. For reference; diamond is a 10 (very hard) and chalk is around 2 (very soft). This means that the turquoise is somewhat fragile and so you don’t want to slip and damage it in any way! I masked the stone with tape and used softer brass rather than steel to push over the bezel. Finally, I sanded up the pieces with multiple grits and then polished them in a rotary tumbler with steel shot (still masking the turquoise of course!). This final step polishes the silver and gives it a long-lasting and hard-wearing shine, and is an extra step I incorporate into all my pieces where possible.
These beauties were then packaged up in my plastic-free Zaphir gift box and posted to the new owner… and I am pleased to say they went down a storm! When they were gifted to the recipient, his words were ‘I didn’t think my wife would get something so nice’ - a glowing review for one of us at least!!